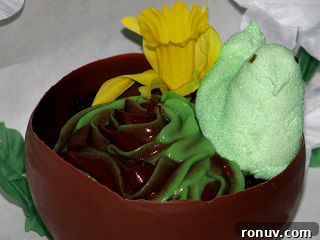
St. Patrick’s Day Chocolate Bowls
What you need
Gather the following ingredients and supplies before you start:
- Chocolate melting wafers or chocolate chips (white, milk, or dark as preferred)
- Small balloons (inflate only to a small size — see steps)
- Parchment paper or a silicone baking mat
- Pudding or other fillings of your choice (green pudding, chocolate pudding, brownie crumbles, candies, or whipped cream)
Allergy note: Some people are allergic to latex. Make sure guests know these bowls were made using balloons.
Tools
- Microwave-safe bowl or measuring cup for melting chocolate
- Tongs or a fork for dipping (optional)
- Sharp knife or scissors to pop balloons
- Ziploc bag and piping tip (optional) for decorative filling
How to make St. Patrick’s Day chocolate bowls
Follow these steps for sturdy, attractive chocolate bowls that can be filled with any dessert or snack:
- Blow up the balloons. Inflate each balloon only a little — two light puffs are usually enough to create a small, bowl-shaped surface. Knot each balloon securely.
- Melt the chocolate. Use a microwave-safe measuring cup or bowl. Heat the chocolate in short bursts, stirring between intervals, until smooth and fully melted. Let it cool slightly; it should be room temperature before dipping. Chocolate that is too hot can weaken or pop the balloon.
- Dip the balloons. Hold each balloon by the knot and dip it into the melted chocolate so the bottom and sides are coated. Allow excess chocolate to drip off, then place the coated balloon on parchment paper to set.
- Chill between dips. Place the dipped balloons in the refrigerator for about 5 minutes to help the chocolate set. Repeat the dipping process, coating the balloons multiple times to build up a thicker shell. Aim for about 4–6 dips, chilling for 5 minutes after each dip to firm the layers.
- Final chill. After the last coat, transfer the balloons to the freezer for 10 minutes to fully harden the chocolate shell.
- Remove balloons. Gently lift each chocolate-covered balloon from the parchment. If the bottom sticks, carefully slide a knife around the edge to loosen it. Use a sharp knife or scissors to pop the balloon near the knot, then slowly peel the deflating balloon away from the inside of the chocolate bowl.
- Handle with care. The chocolate bowls are fragile. Keep them cool until you are ready to fill and serve.
Filling and serving ideas
These chocolate bowls are versatile and fun for holiday presentation. Here are a few suggestions used successfully:
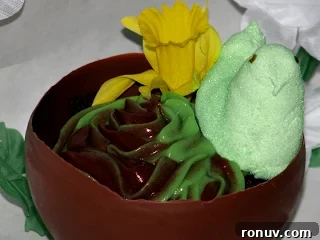
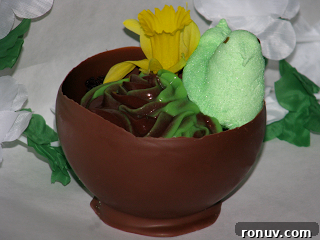
- Green-tinted vanilla pudding layered with chocolate pudding for a festive swirl look.
- Brownie crumbles, chocolate pudding, and a marshmallow Peep or other holiday candy on top.
- Whipped cream and fresh fruit for a lighter option.
- Ice cream scoops with hot fudge or caramel — serve immediately to prevent melting.
To create a two-color piped swirl like in the example, fill one side of a Ziploc sandwich bag with green-tinted vanilla pudding and the other side with chocolate pudding. Snip off a corner of the bag, insert a large star piping tip if desired, then squeeze the bag so both colors come out together and pipe into the bowls for a striped effect.
Tips and troubleshooting
- If chocolate is too runny, let it cool slightly before dipping so the balloon won’t pop.
- Work quickly when coating to keep a smooth surface. Chill between layers to build strength.
- Use parchment paper or a silicone mat to prevent sticking; if it does stick, gently loosen edges with a knife.
- Store finished bowls in a cool, dry place or refrigerate until ready to serve.
All done! These chocolate bowls make charming, edible vessels for desserts at a St. Patrick’s Day party or any festive gathering. What would you put in your chocolate bowls?