How to Grow and Harvest Garlic at Home
Garlic is a kitchen staple that’s easy to grow and offers great flavor and long storage life when homegrown. With a little planning and the right conditions, anyone can plant, nurture, and harvest garlic in a backyard, patio bed, or allotment. This guide covers how to choose a variety, prepare the soil, plant cloves, care for the crop, and cure and store your harvest so it stays flavorful for months.
Choosing Your Garlic Variety
There are many garlic varieties, broadly grouped into softneck and hardneck types. For best results, source planting stock from a local nursery or a grower suited to your climate. Local suppliers often carry varieties that perform well in your area. If you buy garlic at a grocery store, look for labeled varieties and avoid bulbs treated with anti-sprouting agents; if you must use store-bought bulbs, soak and inspect them to encourage sprouting before planting.
Growing Conditions for Garlic
Garlic prefers a sunny spot with light, well-draining soil. Work the bed deeply to improve drainage and remove stones. Avoid planting in soil that has been freshly manured, as very rich or fresh manure can encourage bulb rot. A site that receives full sun through spring and summer helps bulbs develop and ripen fully.
When to Plant Garlic
Timing depends on your hemisphere and local climate. In many temperate areas, plant garlic in autumn so the cloves experience a cold period over winter—this cold exposure helps the cloves divide and form proper bulbs. In milder or southern climates, garlic may be planted in spring. As a rule of thumb, garlic planted in autumn is usually ready to harvest the following summer, often around June to August. Some gardeners aim to harvest around the longest day of the year as a general guide for maturity.
How to Plant Garlic
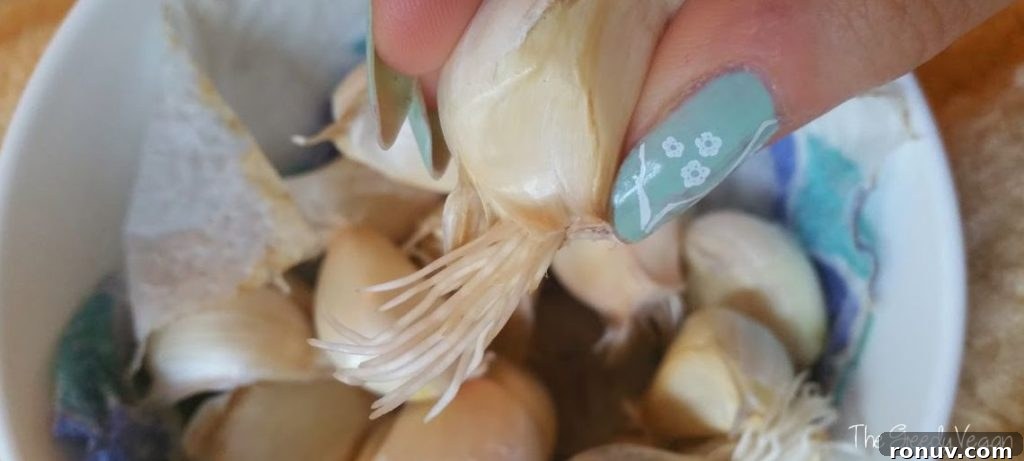
Break bulbs into individual cloves just before planting, keeping the papery skins intact. For a head start, place cloves point-up in a shallow bowl lined with a damp cloth for a few days until tiny roots appear—this can help germination in cool or shaded conditions. Plant cloves with the pointed end up and the flat basal end down, about 3 cm (1 inch) deep. Space rows roughly 20 cm (8 inches) apart and place cloves about 10 cm (4 inches) apart within a row to give each bulb room to grow.
Maintenance and Care
Garlic requires relatively little maintenance but benefits from regular weeding to reduce competition for nutrients and water. Water moderately, especially during dry spells, but avoid waterlogging. In early growth, protect emerging shoots from pests and curious animals, and gently firm soil if bulbs become exposed. If your climate supports it, mulching with straw over winter can protect cloves from extreme cold and help suppress weeds.
Harvesting, Curing, and Storage
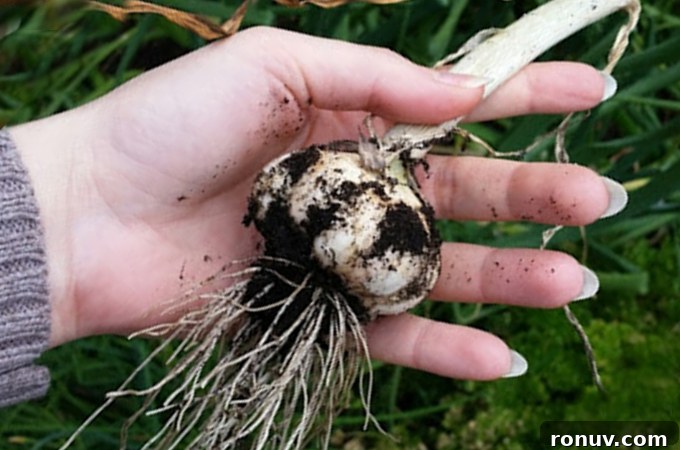
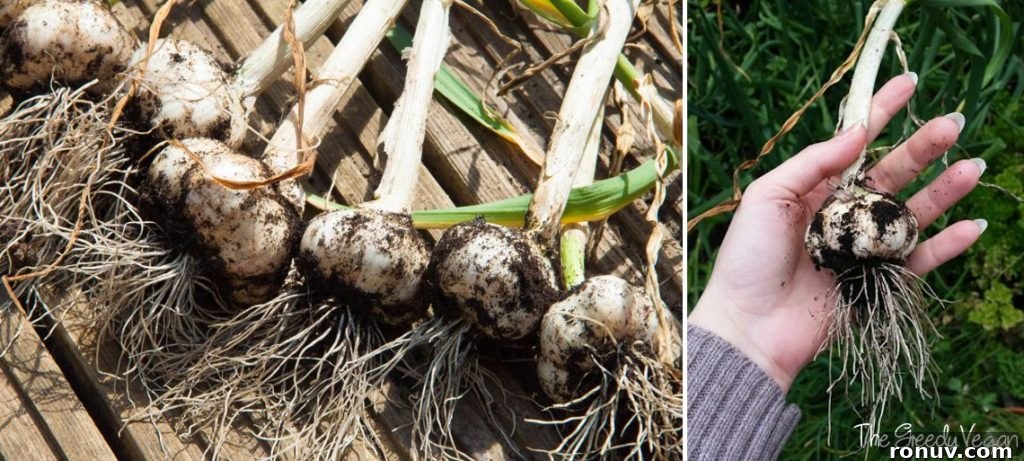
You’ll know garlic is ready to harvest when lower leaves begin to yellow and brown while the upper leaves remain green. In drier climates you can leave bulbs in the ground until more leaves die back; in rainy regions it’s better to lift bulbs earlier to avoid rot. Gently loosen soil around each bulb and lift with care to avoid bruising.
After lifting, cure garlic by spreading bulbs in a single layer on a wire mesh, screen, or dry tray in a warm, airy, shaded place. Curing typically takes a few days to a week depending on humidity and temperature. Once skins are dry and papery, trim roots and necks for storage or braid softneck types if you prefer. Store cured garlic in a cool, dry, well-ventilated area—braids, mesh bags, or burlap pouches all work well.
Final Tips
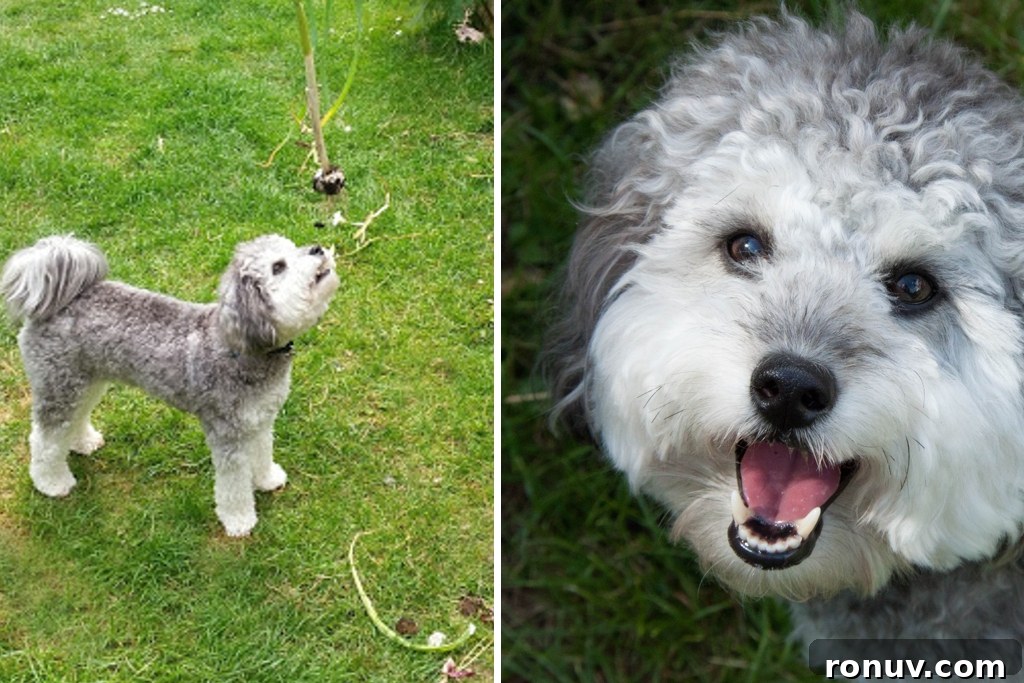
Choose healthy, firm cloves for planting and rotate garlic with other crops to help prevent disease. Homegrown garlic may produce smaller bulbs than some commercial varieties, but the flavor and storage life are often superior. And if you have helpful neighbors with a friendly dog, a quick quality-check from a curious pet makes the harvest even more memorable.