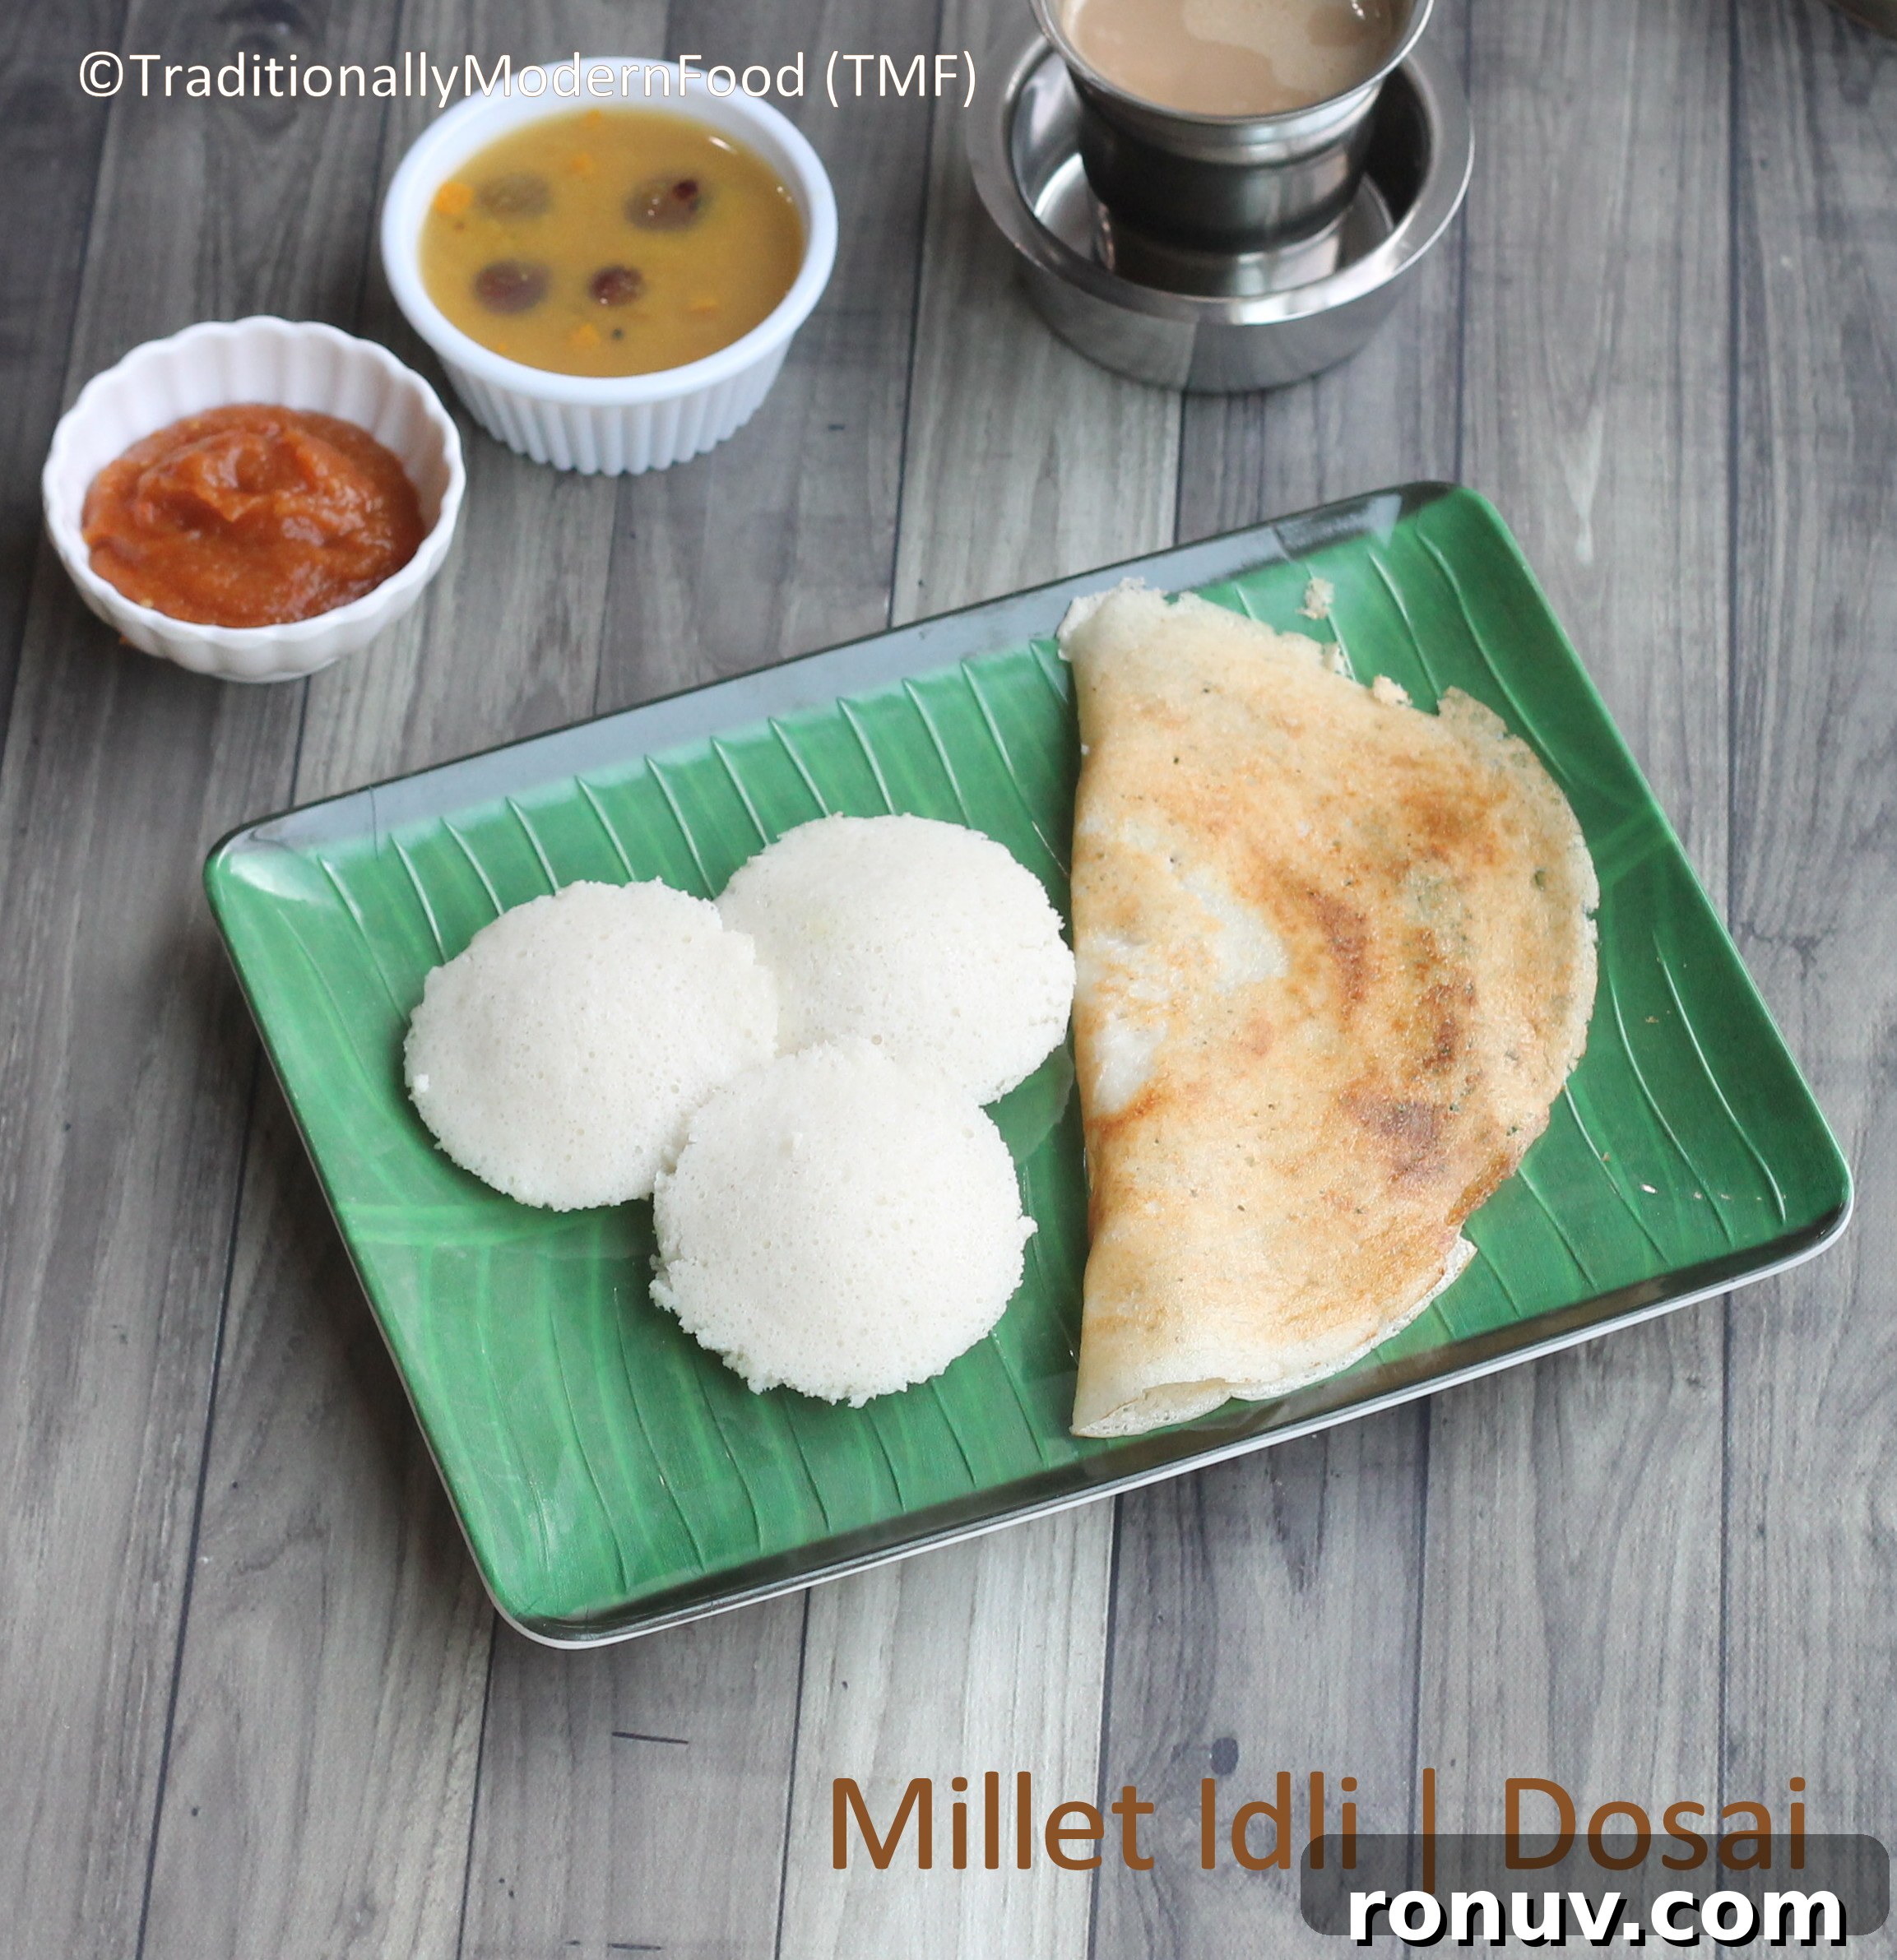
Varagu Arisi Idli | Kodo Millet Idli
Varagu arisi (Kodo millet) idli, dosa and paniyaram make a nourishing, gluten-free alternative to traditional rice-based South Indian breakfasts. The idlis turn out soft and fluffy when the batter is ground in a mixie or grinder, and the same batter is easy to thin for dosai or use for paniyaram with a little added flour. Millets are a great way to bring back traditional, wholesome ingredients into everyday meals.
This recipe grew from an interest in millets that my family shares. I began using them more after they were introduced to me, and now they are a regular feature in our kitchen. If you are new to millets, note that they usually require a bit more rinsing to remove any brown tint, but otherwise they are straightforward to cook with and very versatile.
The recipe below uses Kodo millet combined with idli rice, whole urad dal and flattened rice for texture. Fenugreek adds a touch of flavor and aids fermentation. The batter ferments well if kept in a warm spot; I often keep the vessel with the oven light on in cooler climates. The instructions include options for idli, dosai and paniyaram so you can use the same batter for multiple preparations.
Summary
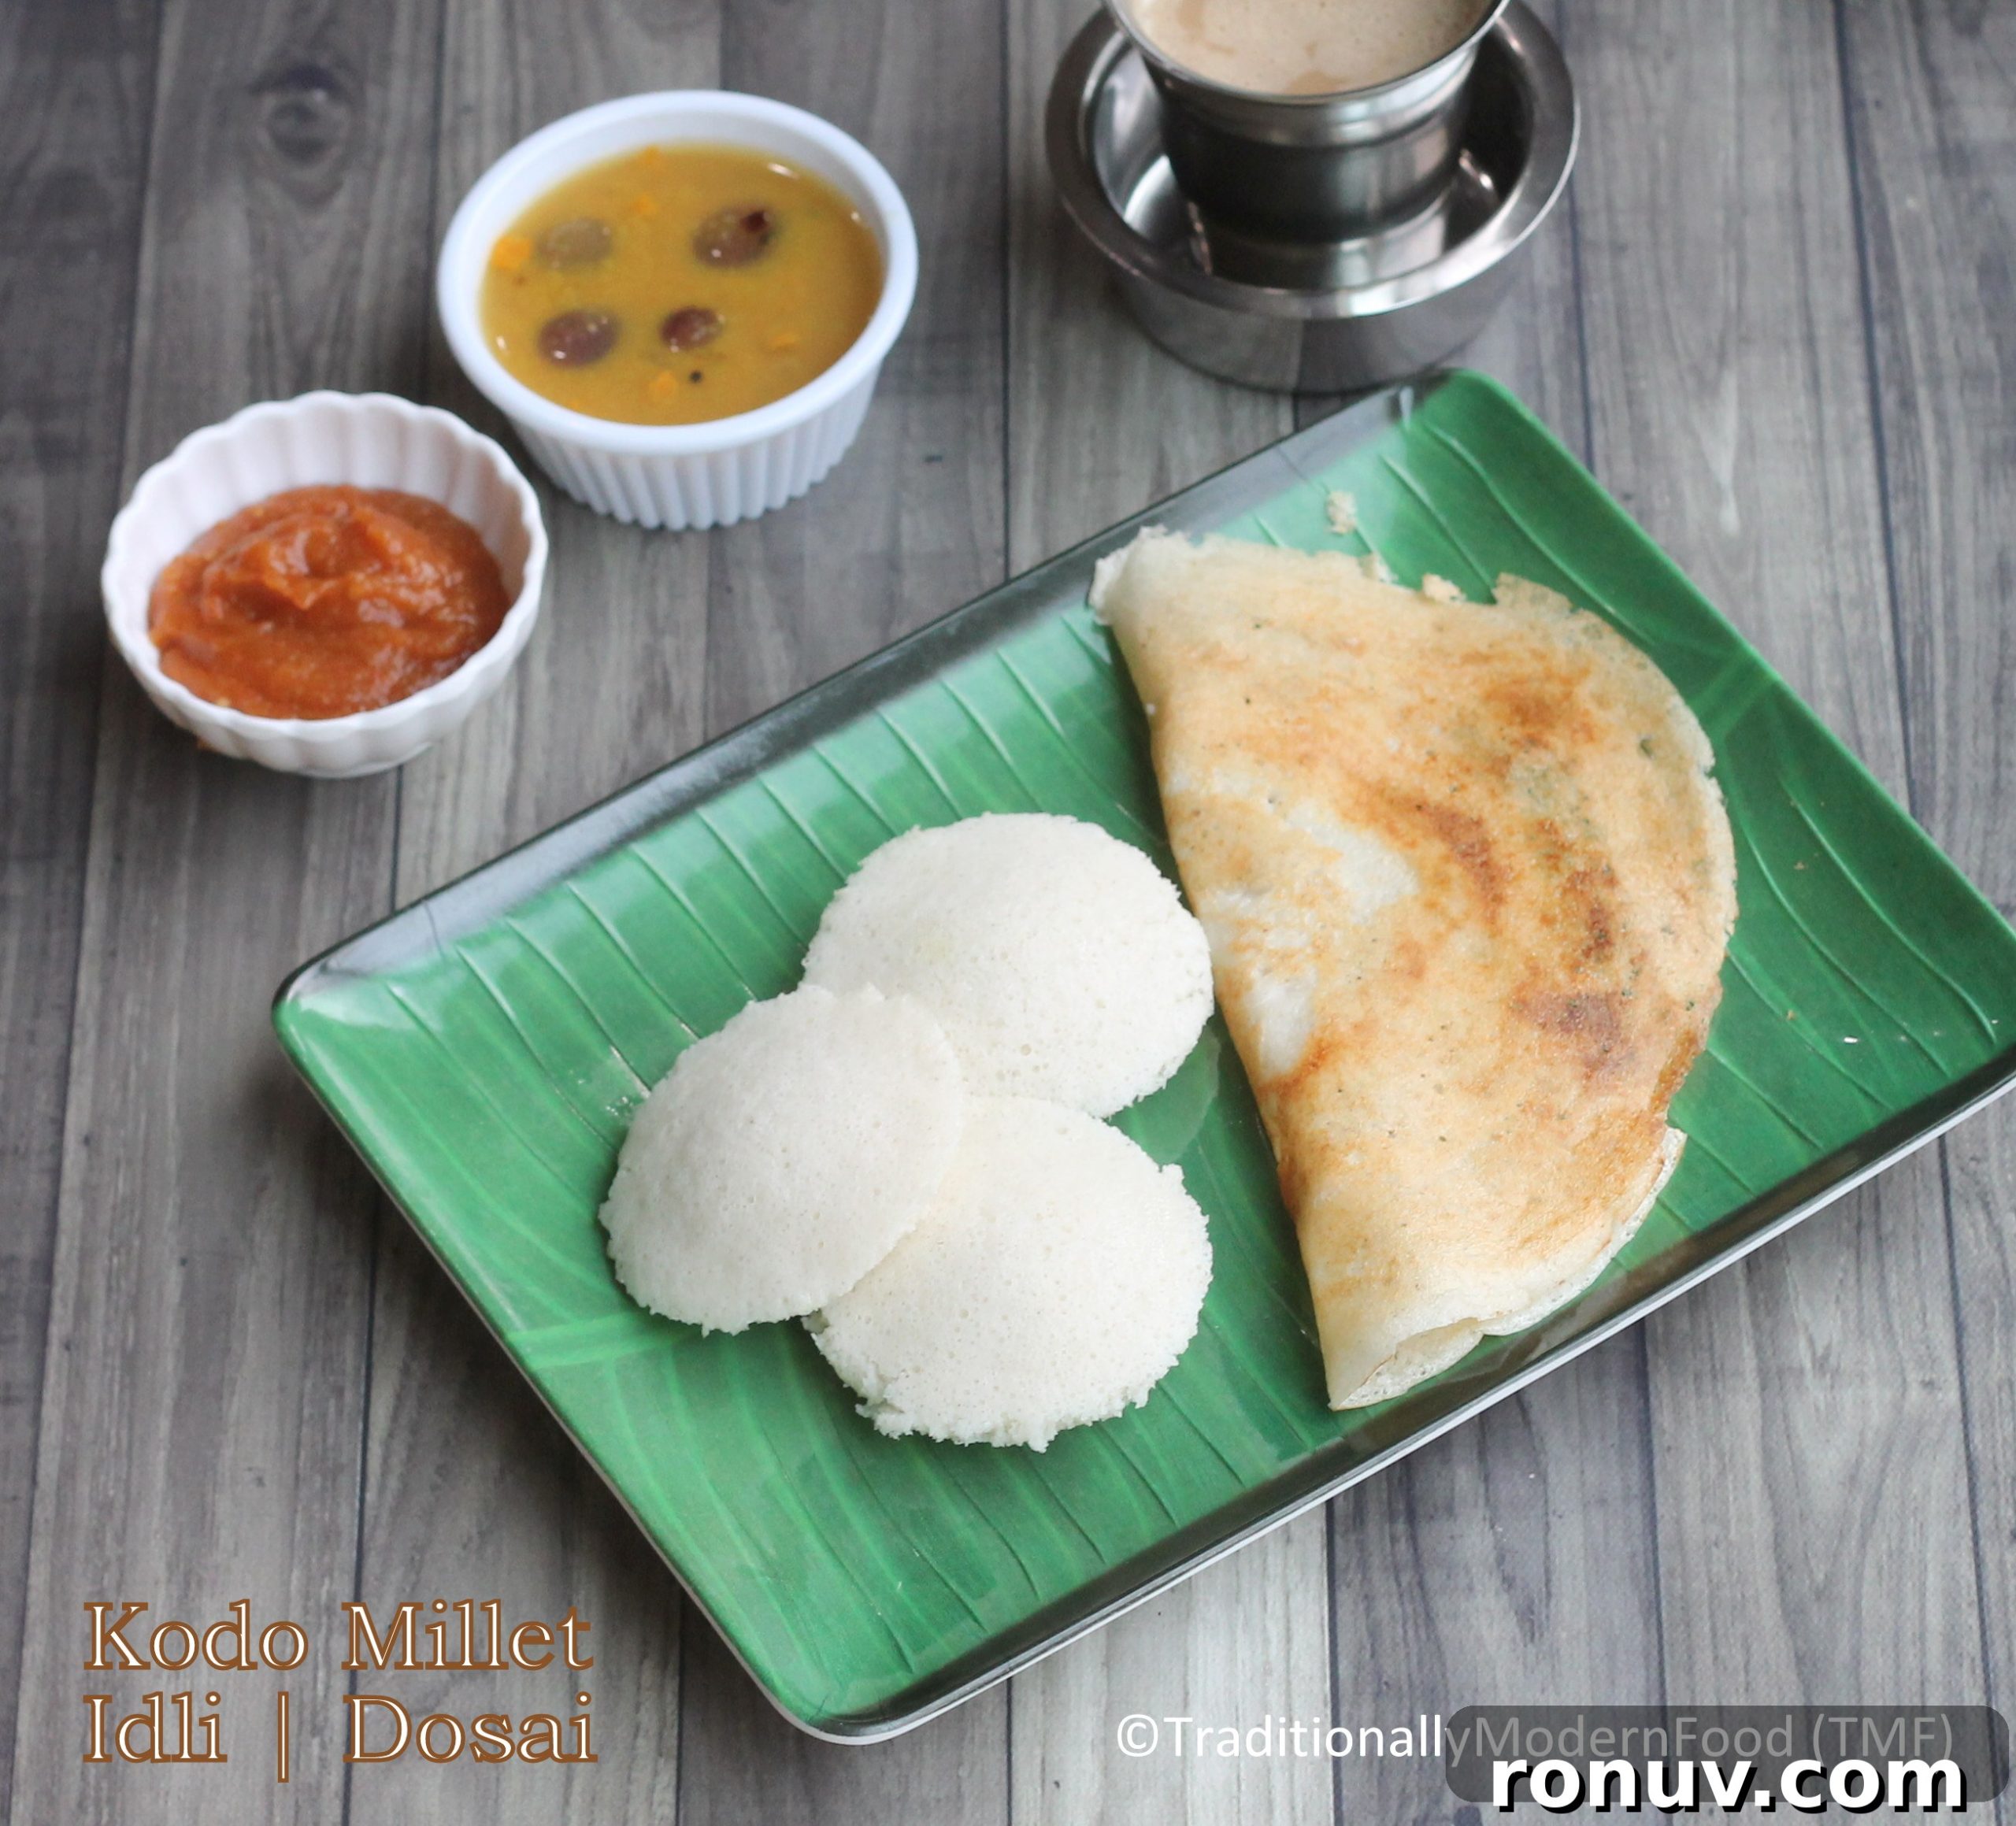
Super soft and fluffy kodo millet idlis that also work for dosai and paniyaram. Batter is ground in a mixie; ferment overnight or until well risen. Serve hot with chutney and sambar or any preferred accompaniments.
Ingredients
- Kodo millet – 3/4 cup
- Idli rice – 1/4 cup
- Whole urad dal – 1/3 cup
- Flattened rice (poha) – 3 tbsp + 1 tsp
- Fenugreek seeds (methi) – 1 tsp
- Salt – to taste
- Water – as required (room temperature or cold water is preferable for grinding)
Method
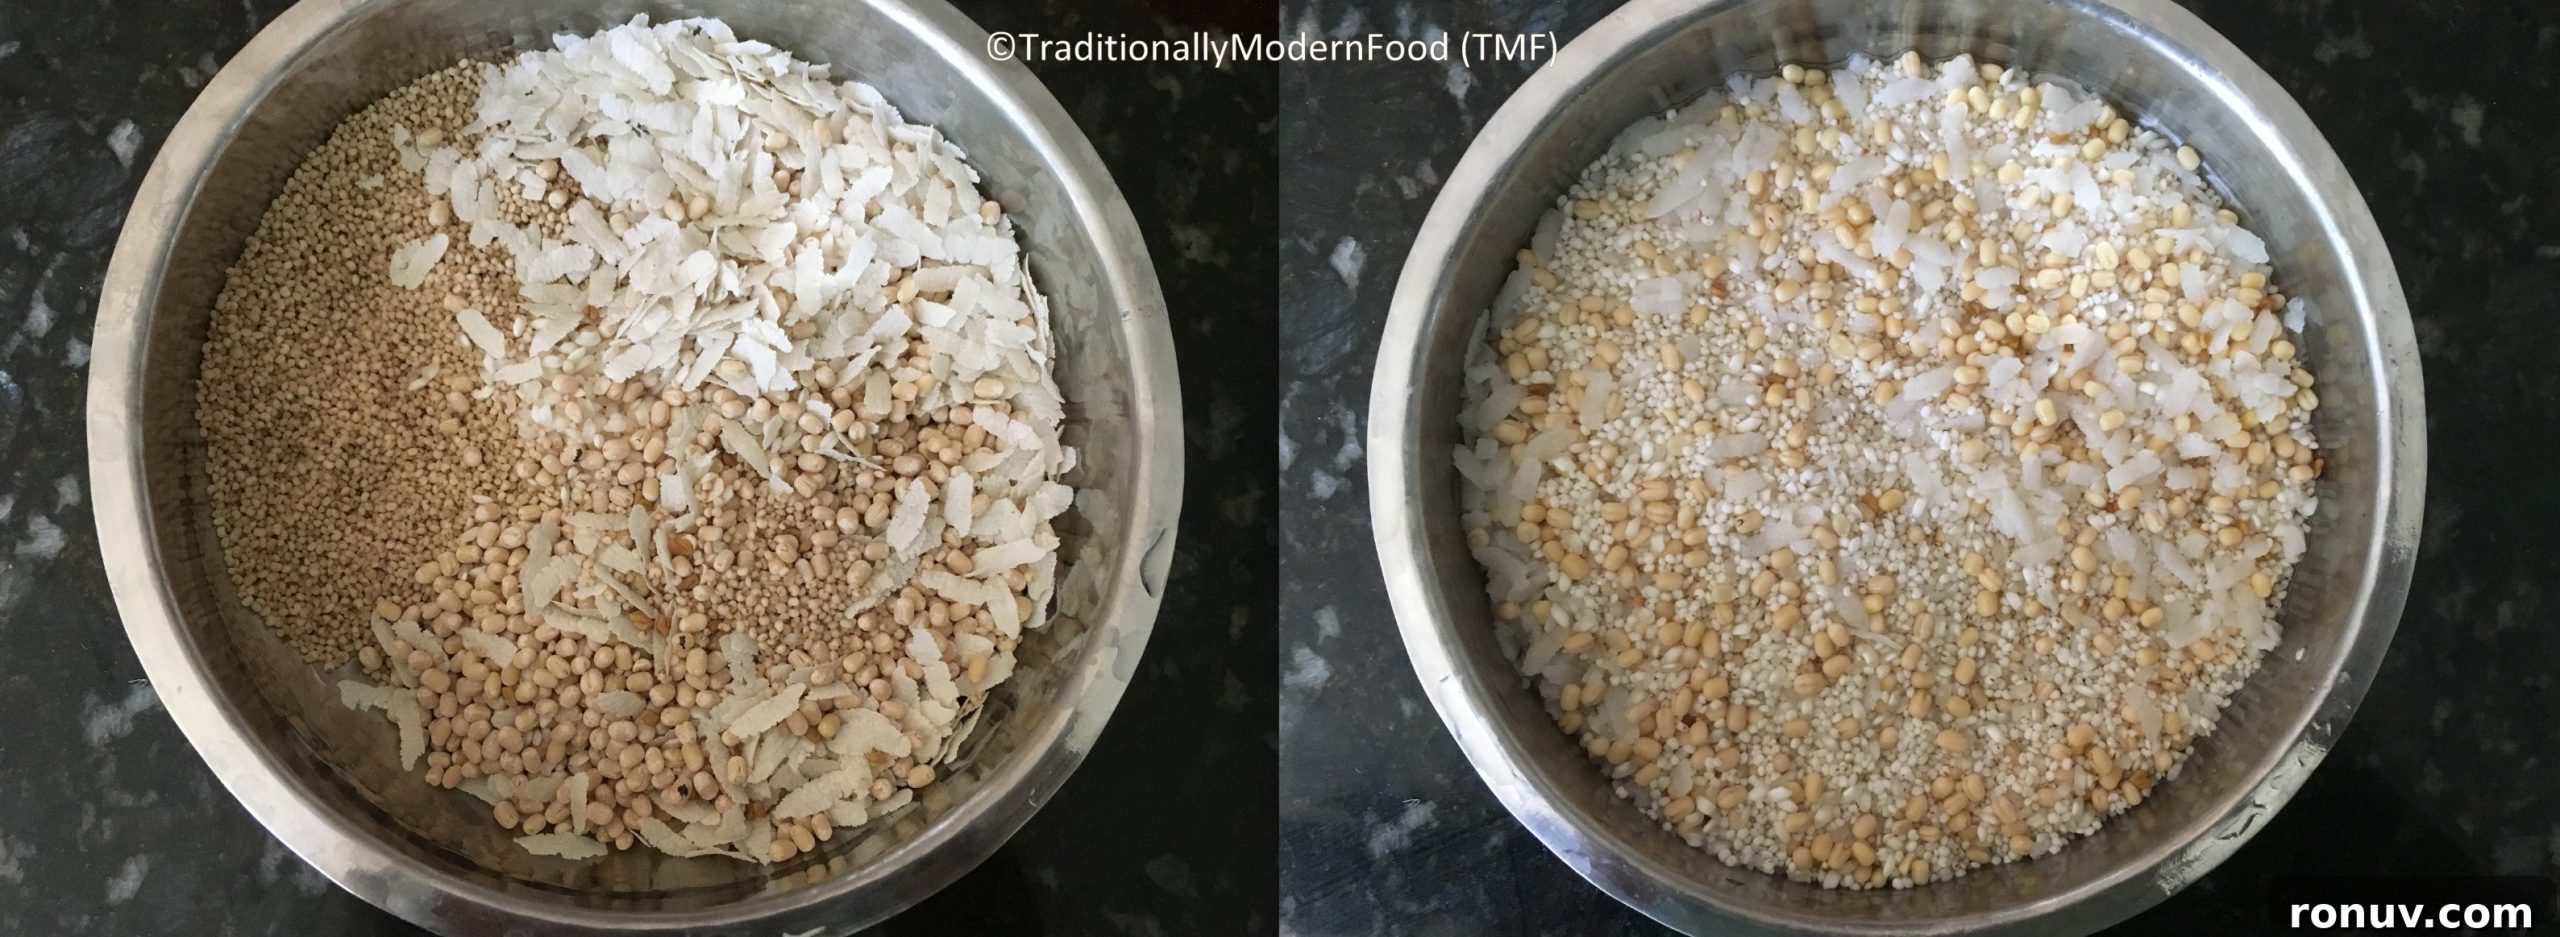
- Wash the kodo millet, whole urad dal, fenugreek seeds and flattened rice thoroughly. Rinse several times until the water runs clearer; millets often need extra rinsing to remove the outer husk and brown tint.
- Soak: when the millet appears half white, soak the whole mixture. Use room temperature water and soak for 8–9 hours, or use hot water and soak for 4–5 hours. If using the shorter hot soak, change the water once every 2 hours. Drain the soaked water completely before grinding.
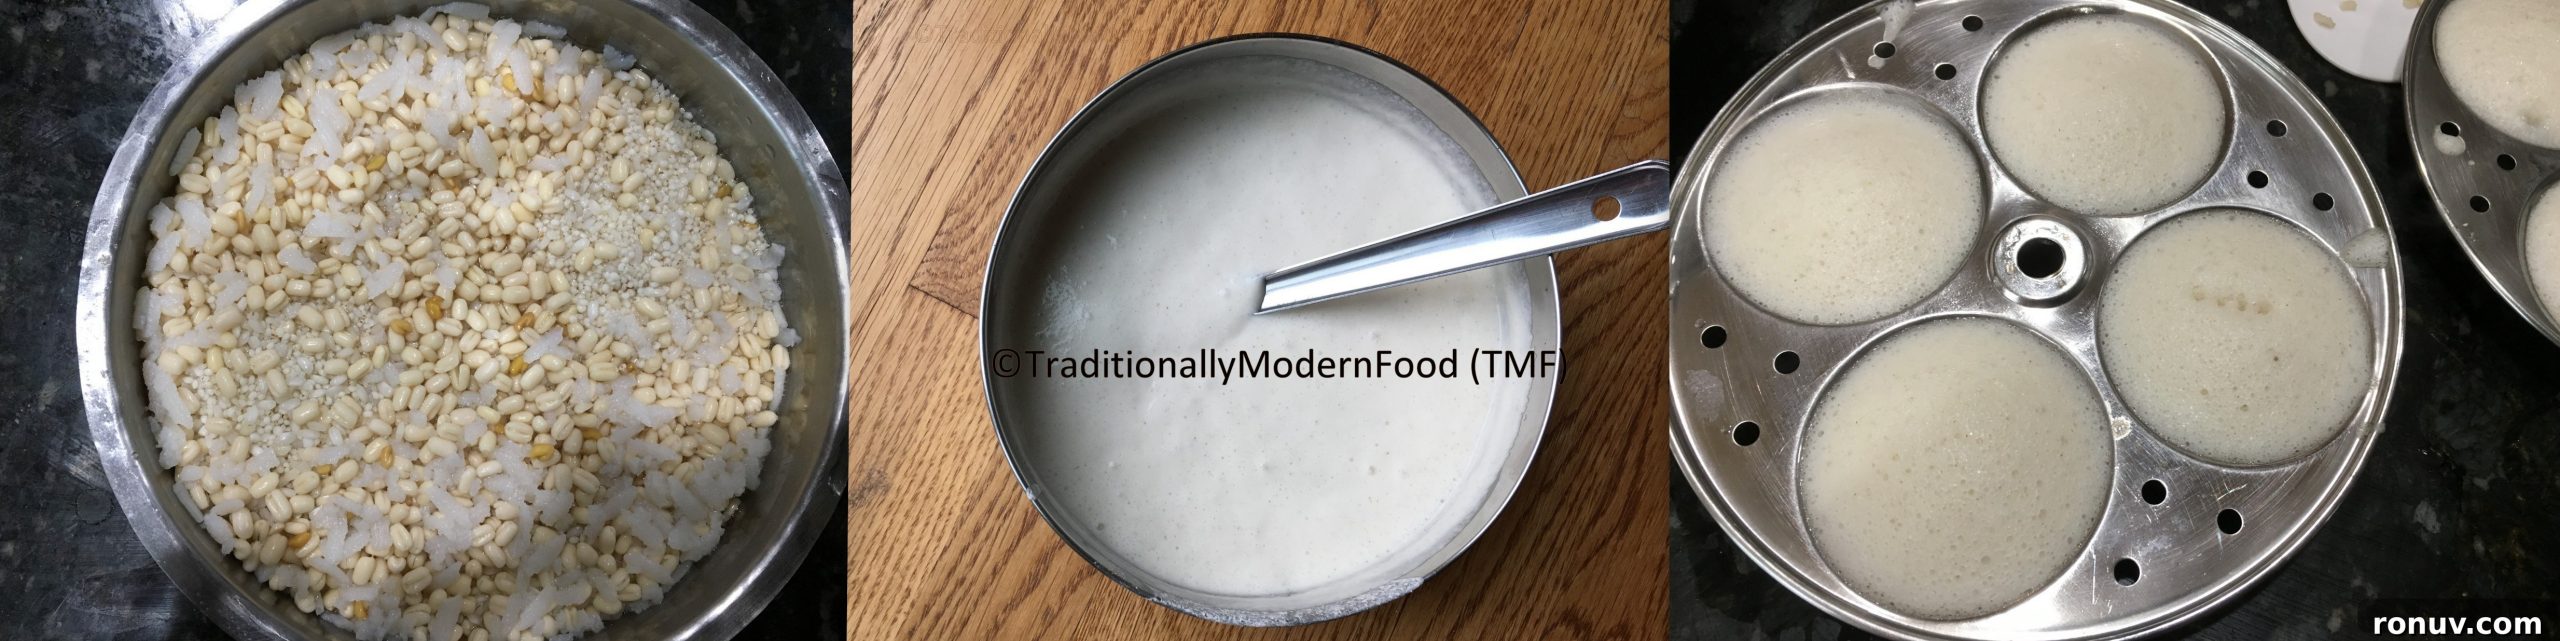
- Grind in batches: place about 1/2 cup of the soaked mixture in a mixie jar with roughly 1/2 cup water. Grind for around 2 minutes, gradually increasing the speed. Pause, stir, then add 3–5 tablespoons of water and grind until smooth. Transfer the ground batter to a large container suitable for fermentation. If the mixie jar becomes hot while grinding the dal, allow it to cool a couple of minutes between batches.
- Repeat the grinding process with the remaining soaked mixture, combining all batches in the same fermentation vessel. The final batter should be smooth and of pouring consistency for idli; you will thin it later for dosa.
- Add salt to taste and mix well. I usually mix the batter by hand to avoid overworking it. Cover the vessel and place it in a warm spot to ferment overnight or for about 12 hours. In cooler kitchens, keeping the container under a switched-on oven light helps fermentation. Place the vessel on a plate to catch any overflow during fermentation.
- After fermentation the batter should have risen and look airy. Stir gently once with a ladle to mix through the air pockets.
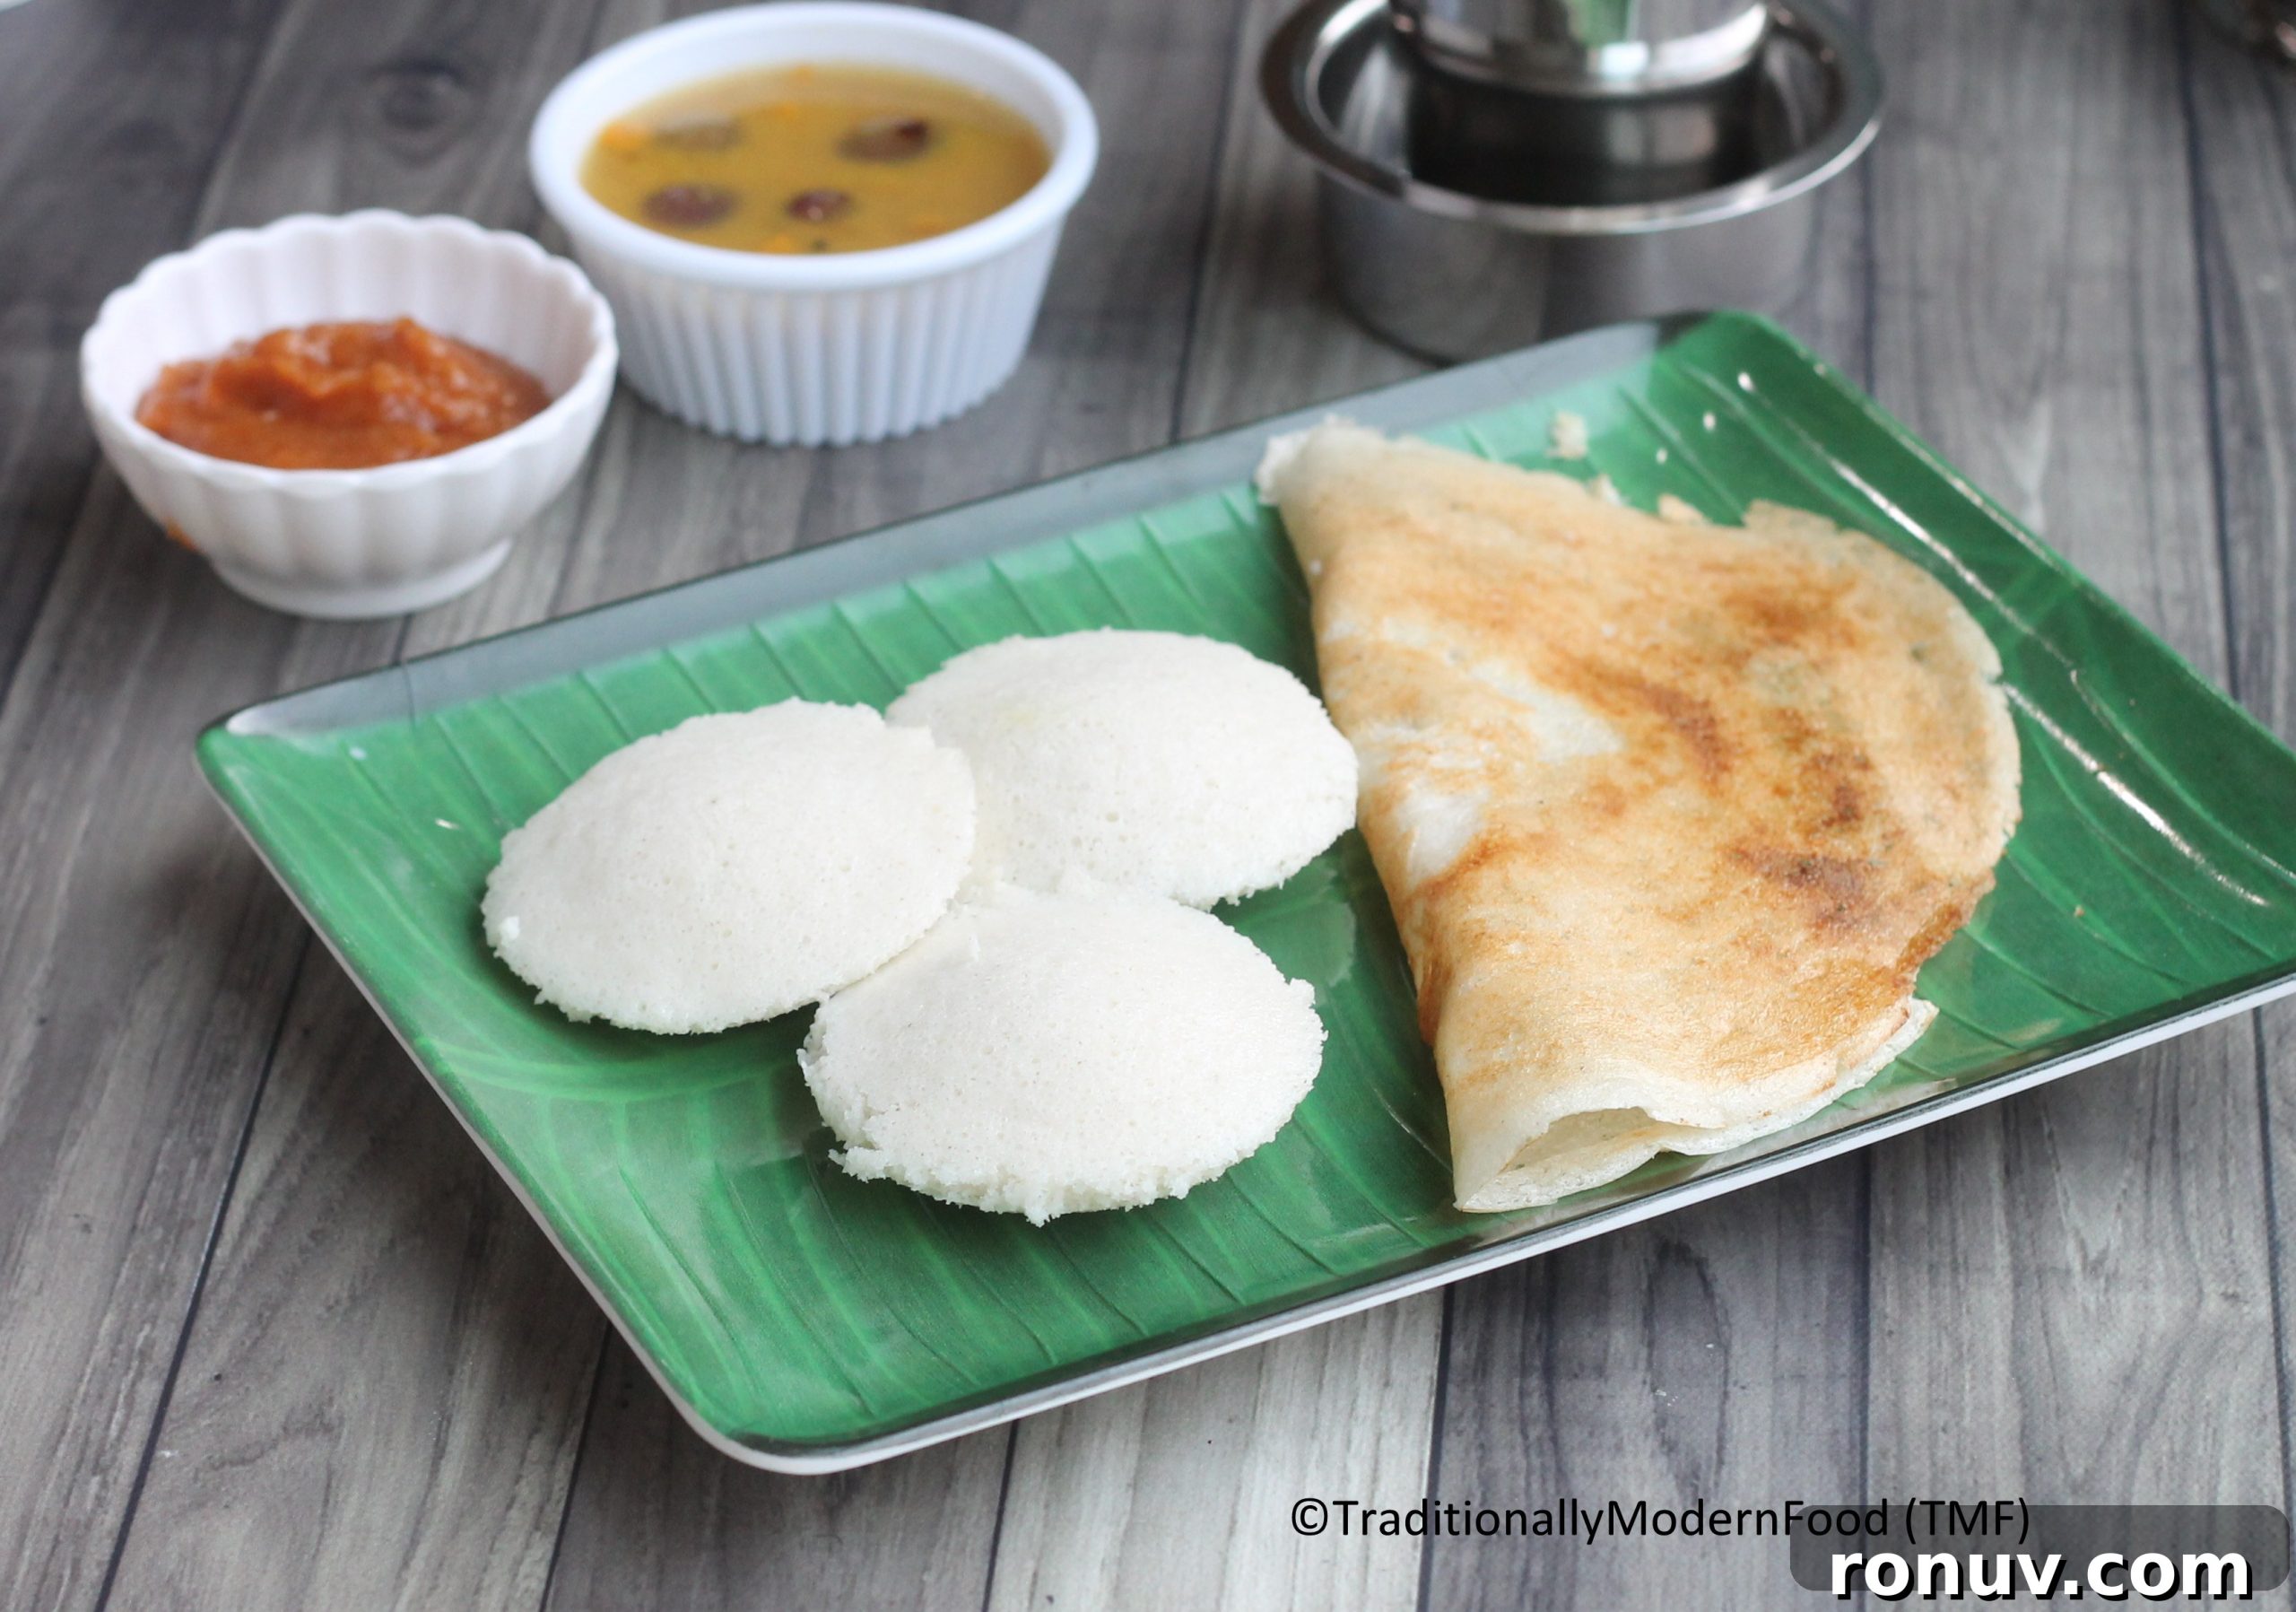
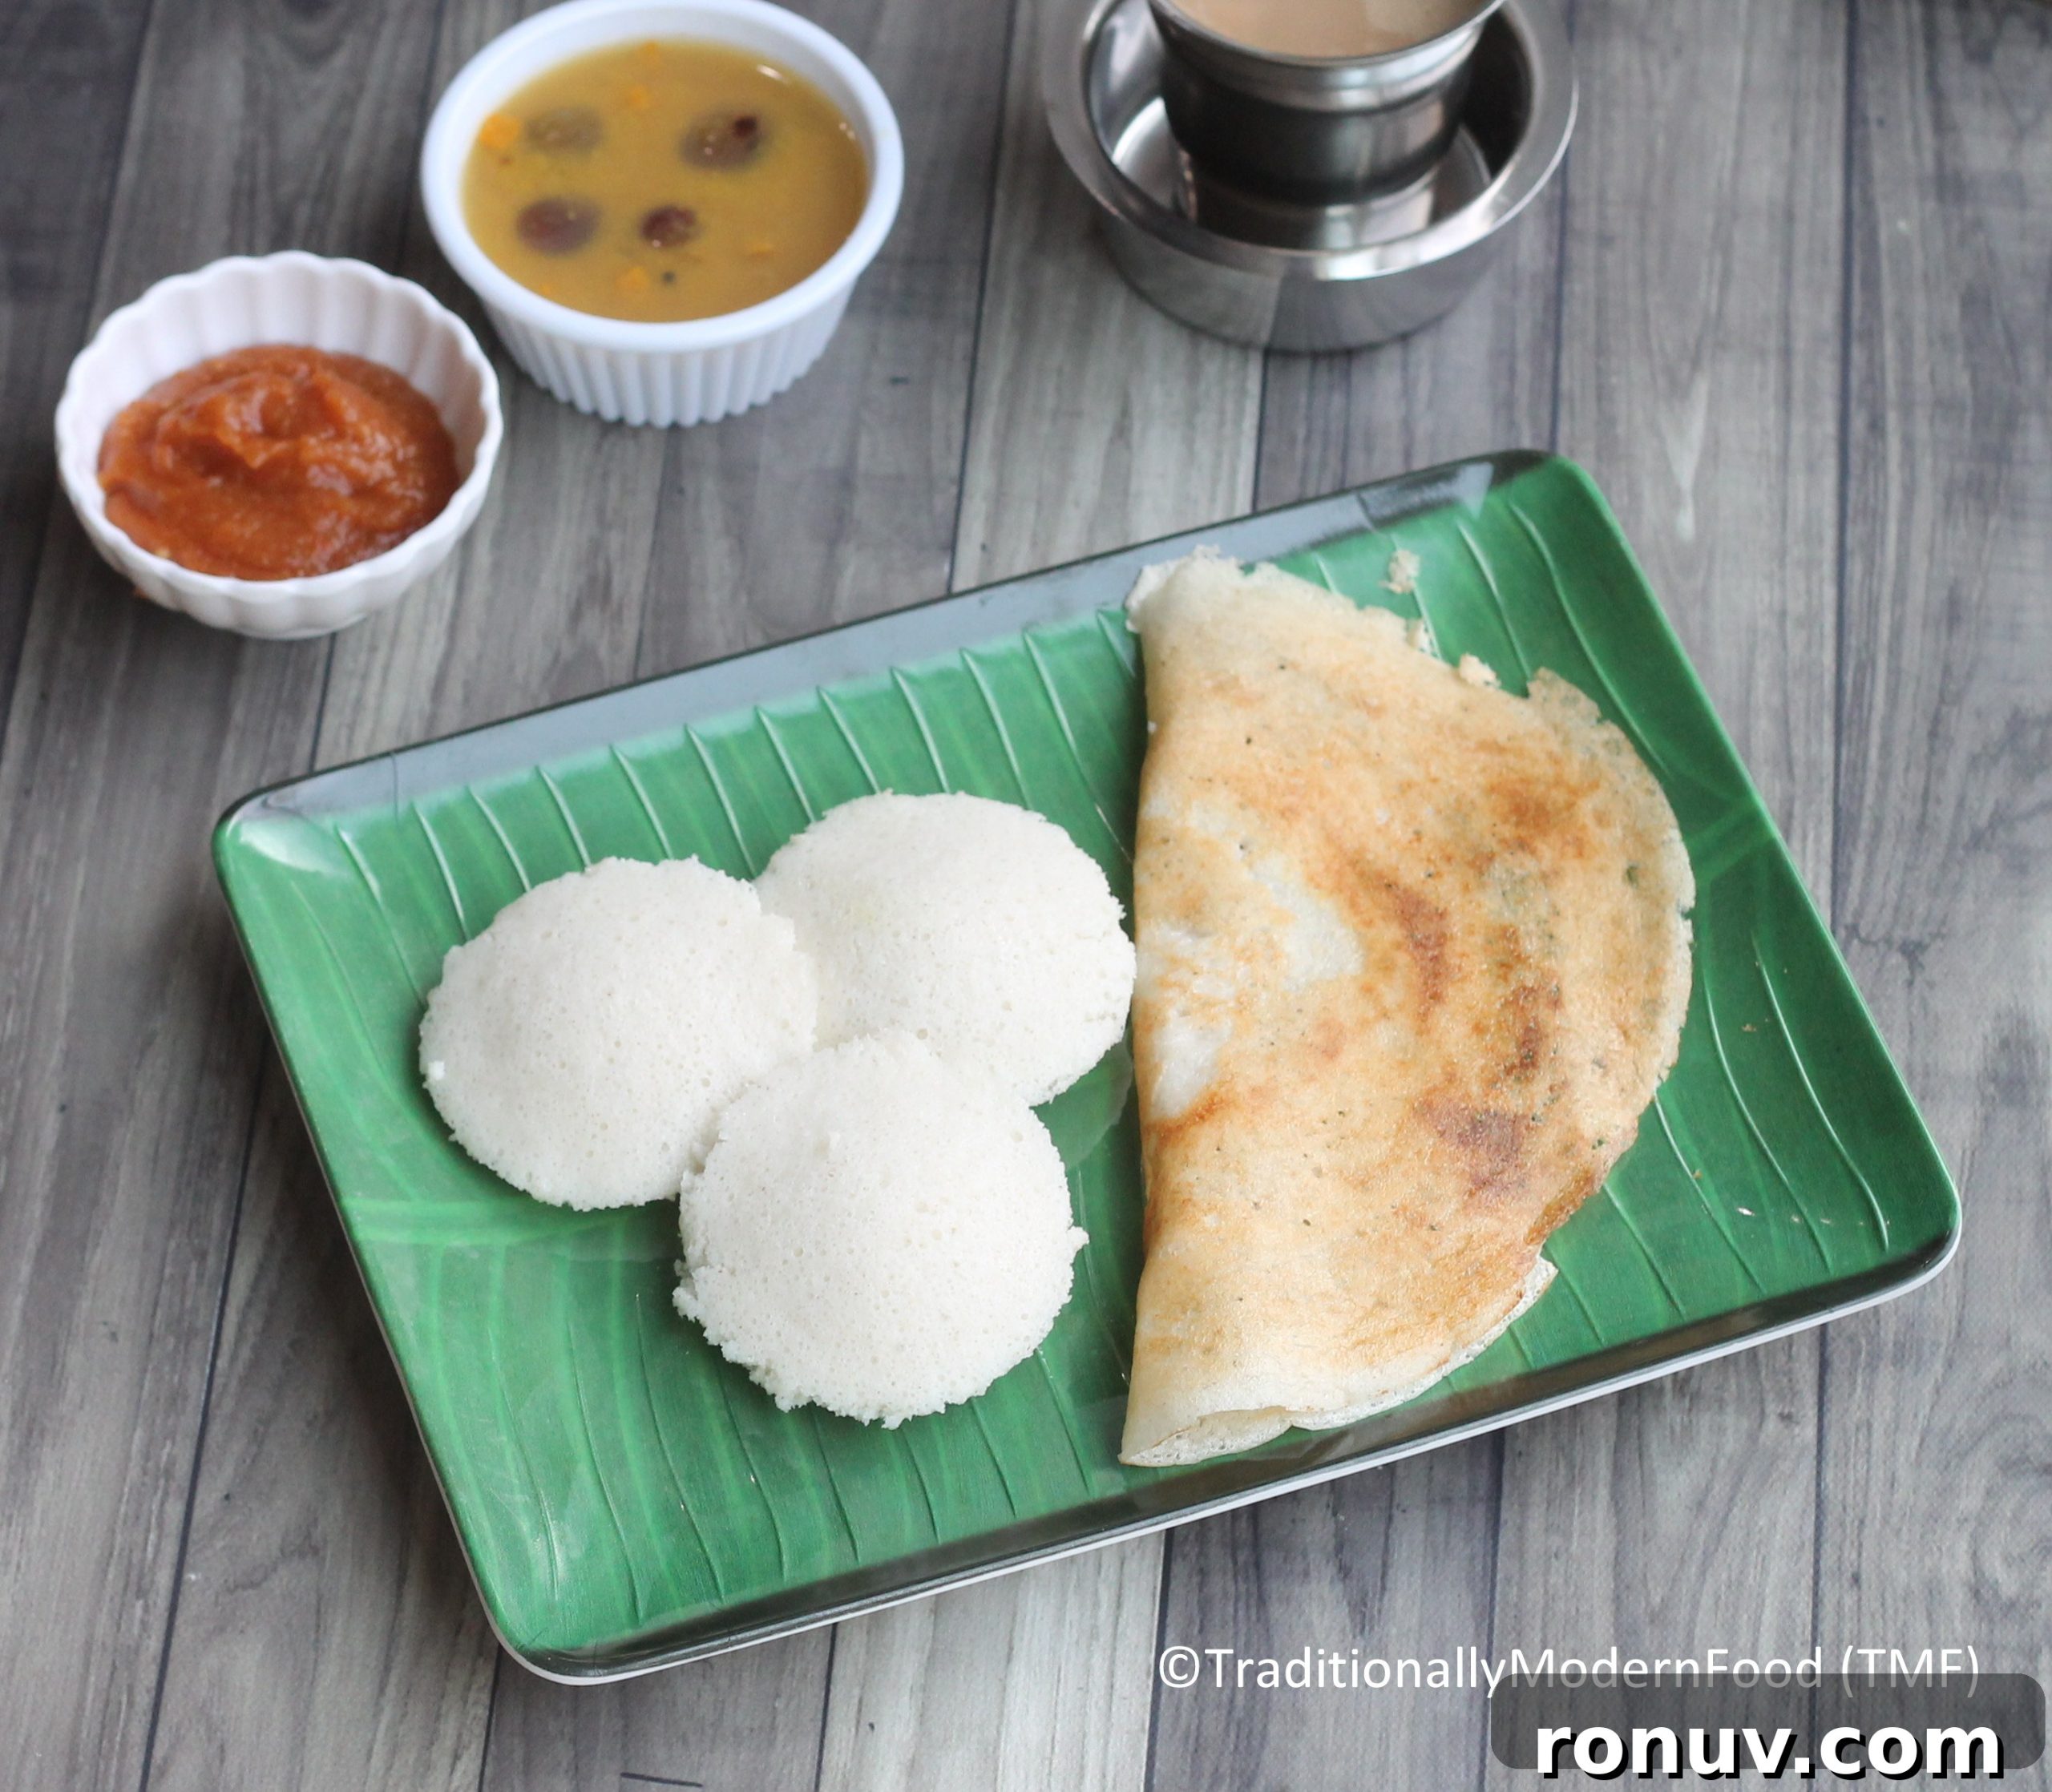
- For idli: grease the idli mould with a little oil and fill each cavity about three-quarters full. Steam in an idli steamer or pressure cooker (without the whistle) for 10–12 minutes or until cooked through. Allow the steam to release briefly, then remove idlis with a spoon and serve hot with chutney and sambar.
- For dosai: add a little water to make a thin dosa batter (similar to regular dosa consistency). Heat a skillet over medium heat, spread a little oil, pour a ladleful of batter and spread into a thin dosa. Drizzle oil around the edges, cook until one side is set, flip and cook the other side. Serve hot with onion chutney, tomato chutney, tomato thokku or any preferred accompaniment.
- For paniyaram: you can add a little wheat flour if desired to help binding. Use the idli batter as-is or adjusted to slightly thinner consistency and cook in a paniyaram pan until golden and cooked through.
Notes and tips
- If you live in a warm climate, fermentation will happen faster and you may not need extra heat. In cooler places, a warm spot or oven light helps the batter rise well.
- You can grind the dal separately from the millet and rice mixture if preferred; combine them afterward for fermentation.
- Substitute other millets such as little millet, foxtail millet or barnyard millet if kodo millet is not available.
- Always stir the batter well before using; the consistency can separate slightly after fermentation.
- Keep the batter vessel on a plate while fermenting to avoid a messy countertop if the batter overflows.