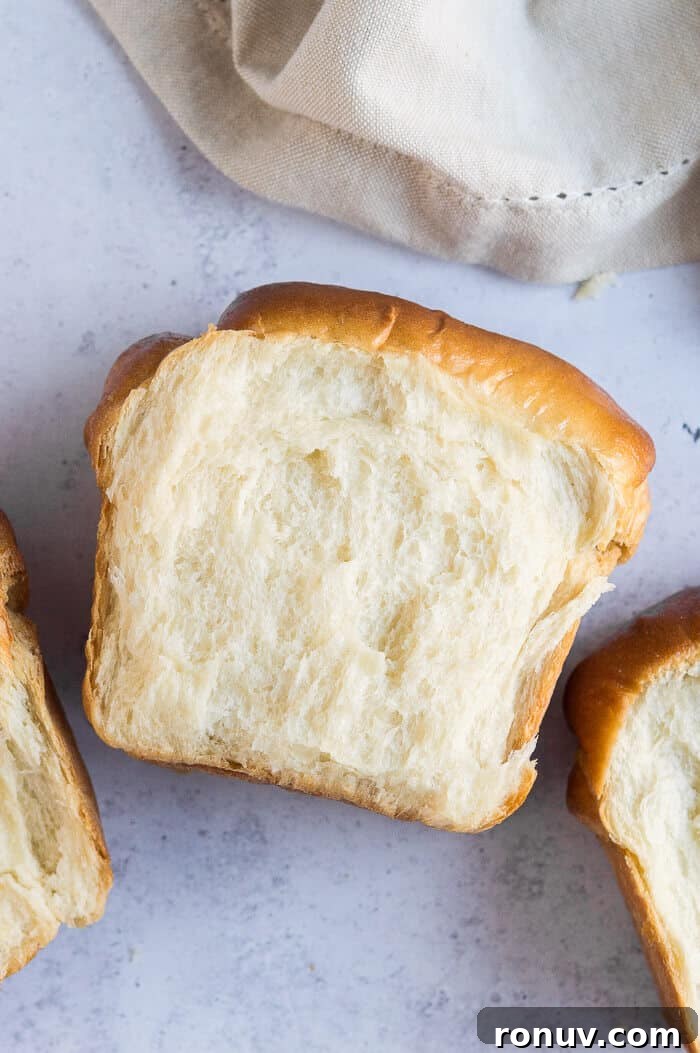
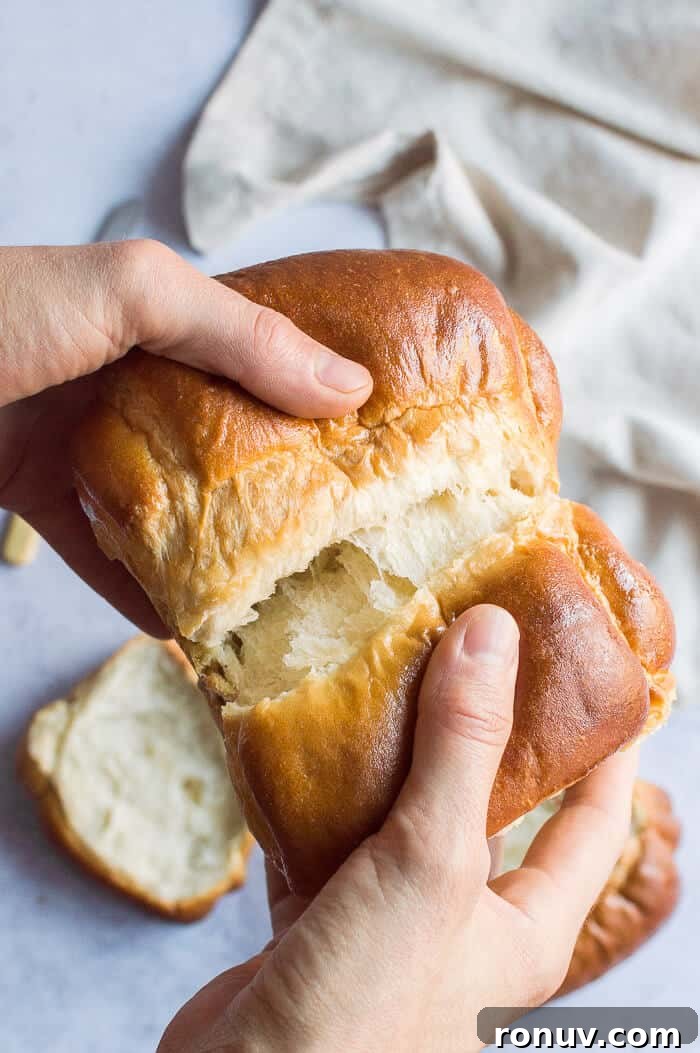
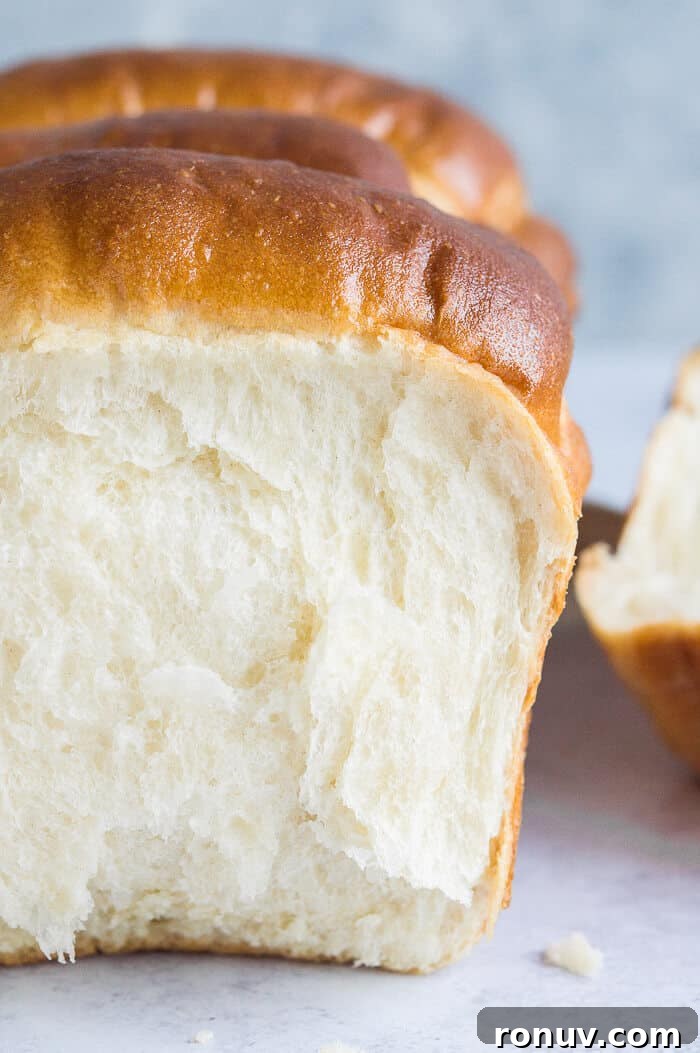
Vegan Hokkaido milk bread — a plant-based take on the softest, fluffiest loaf you’ll make. This egg-free, dairy-free milk bread has a cloud-like crumb that’s perfect for breakfast, toast, sandwiches or snacking.
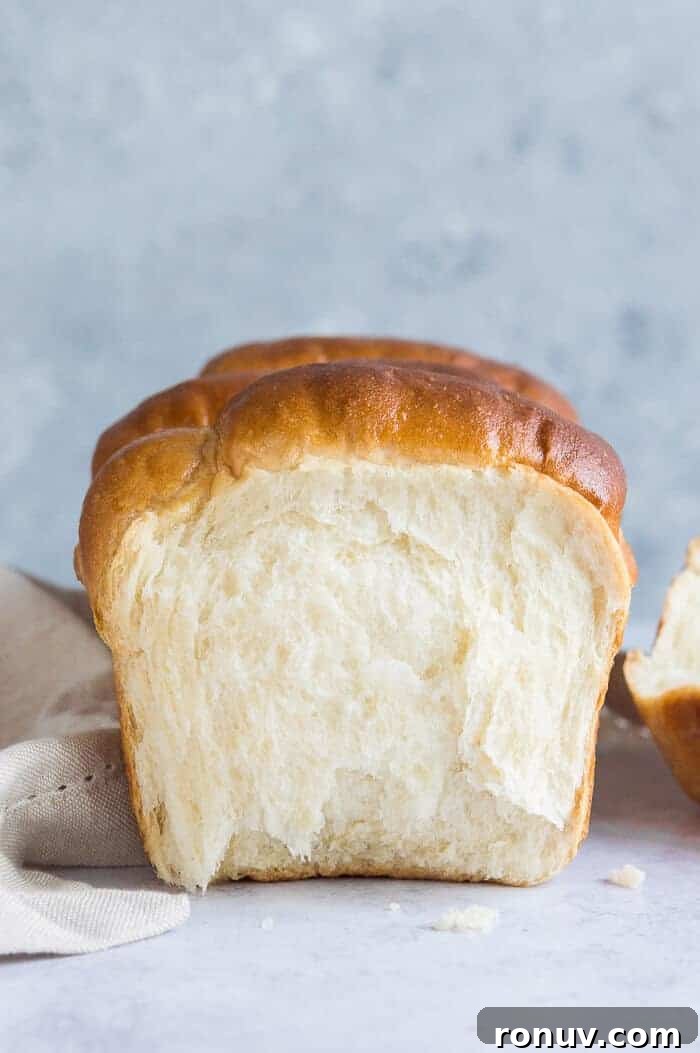
I wanted to convert my Hokkaido milk bread into a fully vegan version for some time. After several tests I finally landed on a recipe that keeps the same soft, pillowy texture and delicious, slightly sweet flavor — without eggs or dairy. The result is incredibly tender bread with a fine, flaky crumb that stays moist for days.
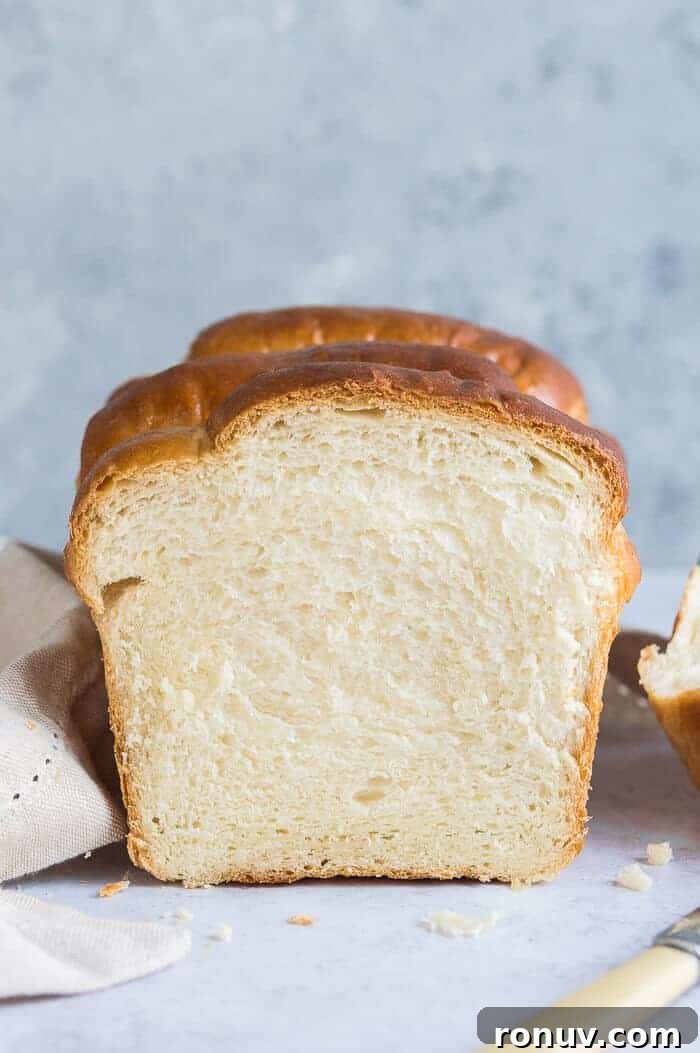
This vegan Hokkaido milk bread is dangerously easy to overeat. It’s light enough to enjoy plain, excellent with a smear of jam, and slices beautifully for sandwiches or toasting.
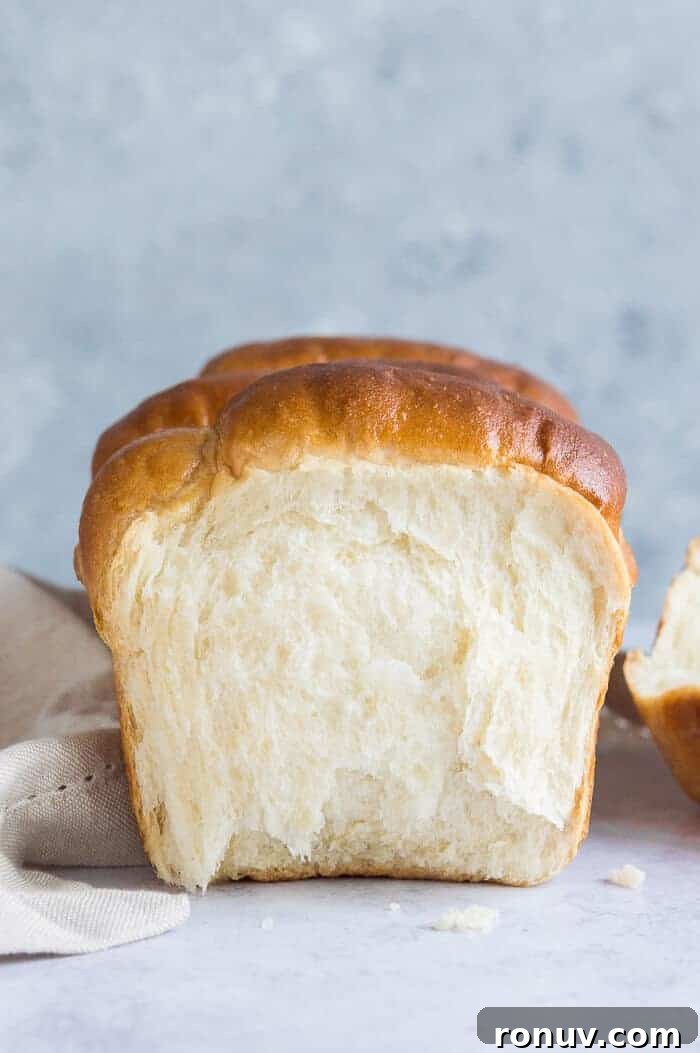
What Is Hokkaido Milk Bread?
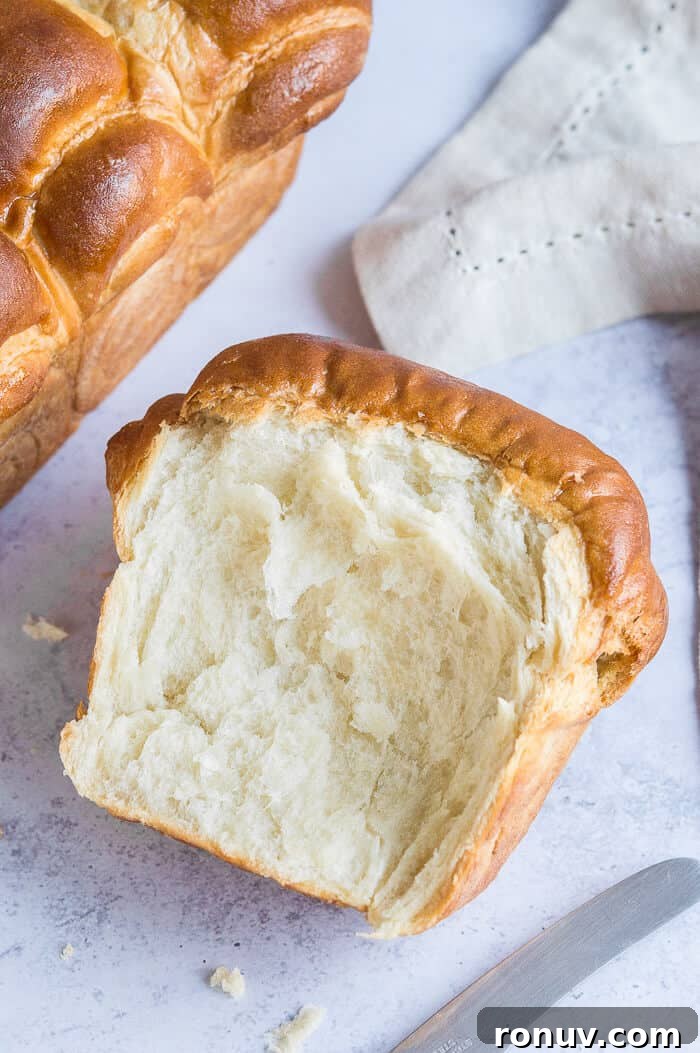
Hokkaido milk bread is a Japanese-style enriched loaf similar to brioche but usually lighter and with less butter. It features a soft, cloud-like crumb that pulls apart into delicate layers. Sweet and flavorful on its own, it also makes excellent sandwiches and golden toast.
The secret to its uniquely tender texture is the tangzhong method, which pre-gelatinizes some of the flour so the dough retains more moisture and stays soft longer.
What Is Tangzhong?
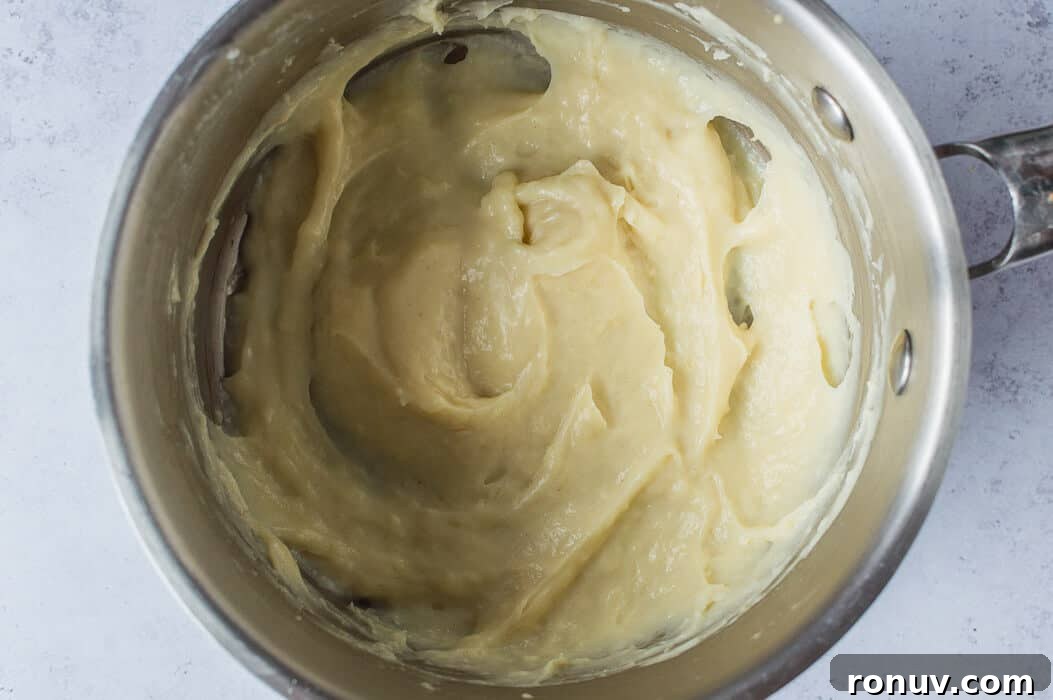
Tangzhong is a cooked mixture of a portion of the recipe’s flour and liquid. Heated until it becomes a thick, pudding-like paste, this pre-gelatinized starch is cooled and added to the dough. It allows the flour to hold more water, creating extra steam in the oven for a higher rise and a moister final crumb.
Because the dough keeps more liquid through baking and cooling, the loaf remains softer and fresher for longer than breads made without tangzhong.
How To Make Vegan Hokkaido Milk Bread
(See the full ingredient list and step-by-step instructions below.)
For reliable results use the gram weights and a digital scale rather than cup measures. Baking depends on accuracy and cup measures are often inconsistent.
Begin by making the tangzhong. Whisk together a small portion of bread flour and soy milk in a saucepan (the recipe uses a ratio of 1 part flour to 5 parts liquid by weight). Heat gently, whisking constantly, until it thickens to a smooth, pudding-like paste. Transfer to a small bowl, press parchment directly on the surface to prevent a skin, and cool to room temperature. The tangzhong will firm up as it cools.
While it cools, combine the yeast with lukewarm soy milk and a pinch of sugar and leave for about 10 minutes until foamy. This confirms the yeast is active; if it doesn’t foam, the yeast should be replaced.
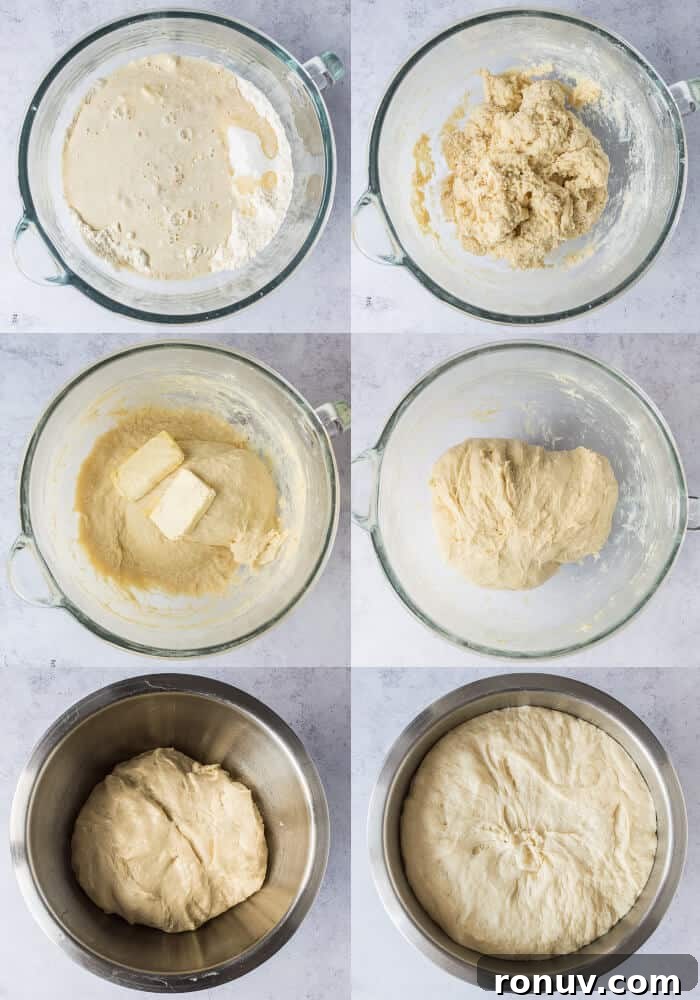
In the bowl of a stand mixer, mix the remaining bread flour, sugar and salt. Add the cooled tangzhong, yeast mixture and aquafaba (the chickpea liquid used as an egg replacer) and mix until a rough dough forms. Knead at medium speed for about 10 minutes until the dough becomes elastic and stretchy. It should be soft and slightly sticky — add flour by the tablespoon only if it feels excessively wet.
Next, add softened vegan block butter and continue kneading for 5–10 minutes until the butter is fully incorporated and the dough feels smooth and elastic rather than greasy. If you prefer to knead by hand, expect it to take longer (up to 25 minutes) and to be a little sticky.
Place the dough in a lightly oiled bowl, cover and chill in the refrigerator overnight for a slow rise, or leave in a warm spot for 1–2 hours until doubled in size.
Shaping the Loaf
After the first rise (or the next day), gently deflate the dough and give it a very brief knead to remove large air pockets. Divide the dough into 3 or 4 even pieces and shape each into a smooth ball. For the classic multi-hump loaf pictured use 4 pieces; for a three-hump loaf divide into 3.
On a floured surface roll each ball into a long oval, fold the sides in thirds lengthwise to form a narrow packet, then roll from one end to create a fat sausage. Place the rolls seam-side down in a lined loaf tin (about 11.5 x 21.5 cm / 4.5 x 8.5 inches). Cover loosely and allow to rise until the dough has at least doubled and rises above the rim of the tin. This second rise typically takes 1–2 hours depending on temperature and whether the dough was chilled.
When the loaf has risen, brush the top gently with a glaze of maple syrup thinned with water, taking care not to let any drip down the sides (aquafaba or non-dairy milk can be used instead if you prefer a non-sweet glaze). Preheat the oven while the dough finishes proving.
Bake in a preheated oven at 180°C / 350°F for roughly 30–50 minutes, depending on your oven. A probe thermometer inserted into the center should read about 94°C / 201°F when fully baked. If the top browns too quickly, tent loosely with foil. For a shinier crust, brush with more glaze halfway through baking.
When baked, remove the loaf and brush again with glaze. Let it rest in the tin for 10 minutes, then transfer to a wire rack to cool completely before slicing.
Can I Freeze It?
Yes. This loaf freezes well sliced. Freeze individual slices and toast or grill them straight from frozen when needed.
Vegan Ingredient Notes
To veganize the original recipe: dairy milk is replaced with unsweetened soy milk, which has a higher protein and fat content similar to cow’s milk and helps produce a better crumb. Aquafaba (the liquid from canned chickpeas) replaces eggs for binding and emulsification. For butter use a solid vegan block (not the spreadable tub variety) – this produces the best texture and flavor. I tested coconut oil but found it made the loaf denser and less flavorful.
The vegan dough benefits from slightly higher hydration than the non-vegan version, so the mix and feel may differ from traditional recipes.
Quick Notes
- This bread is intended to be gently sweet. If you prefer it less sweet, halve the sugar, but do not omit it entirely — a small amount helps with texture and rise.
- Aquafaba is the liquid from a can of chickpeas. You can use a commercial egg replacer if you prefer.
- For best results prepare the dough the day before to break up the work; the recipe can also be completed in a single day.
- A stand mixer is recommended because this is a soft, sticky dough that takes time to knead; hand-kneading is possible but slower and messier.
- This is an enriched dough (contains milk, fat and sugar) and may take longer to rise than lean doughs. Rising times will vary with kitchen temperature and whether you refrigerate the dough.
- Use bread flour for the best structure and crumb.
- Flour absorption varies by brand. Start with the stated quantity and add small amounts if the dough is too wet — the dough should still be soft and slightly sticky.
- To check doneness use a probe thermometer — ovens differ widely and bake times are approximate.
Vegan Hokkaido Milk Bread
Egg-free, dairy-free Hokkaido milk bread with a cloud-like texture — perfect for breakfast and snacking.
Ingredients
Tangzhong
- 30 g (¼ cup) bread flour
- 150 ml (scant ⅔ cup) unsweetened soy milk
Step 1
- 7 g (2 tsp) instant/fast action or active dry yeast
- 5 g (1 tsp) sugar
- 150 ml (scant ⅔ cup) lukewarm unsweetened soy milk
Step 2
- 400 g (3 + ⅓ cups) white bread flour (plus extra as needed)
- 55 g (¼ cup) caster sugar
- 1 tsp salt
- 3 Tbsp aquafaba (or more milk)
- 40 g (2 Tbsp + 2 tsp) vegan block butter, softened
Glaze
- ½ Tbsp maple syrup
- 1 Tbsp water
Instructions
- Make the tangzhong by whisking the 30 g flour and 150 ml soy milk together in a pan. Cook over medium-low, whisking constantly, until thick and pudding-like. Scrape into a bowl, cover with parchment on the surface, and cool to room temperature.
- Mix the yeast with 150 ml lukewarm soy milk and 5 g sugar. Leave about 10 minutes until foamy.
- Combine 400 g bread flour, 55 g sugar and 1 tsp salt in a stand mixer bowl. Add the cooled tangzhong, yeast mixture and aquafaba. Mix to a rough dough.
- Knead at medium speed about 10 minutes until stretchy. Add flour by the tablespoon if too wet, or a splash of milk if too dry.
- Add the softened vegan butter and knead 5–10 more minutes until smooth, elastic and not greasy.
- Place dough in a lightly oiled bowl, cover and refrigerate overnight or leave in a warm spot until doubled (1–2 hours).
- After the first rise, knock back the dough and knead briefly. Divide into 3 or 4 pieces, shape as described above, and place seam-side down in a lined loaf tin.
- Cover loosely and proof until doubled and rising above the tin (about 1–2 hours). Preheat oven to 180°C/350°F while it proofs.
- Brush the top with the maple syrup-water glaze (or aquafaba/milk for a non-sweet finish). Bake 30–50 minutes until a probe reads 94°C/201°F in the center. Tent with foil if browning too fast. For extra shine brush with more glaze halfway through.
- Brush again when out of the oven. Cool in the tin 10 minutes, then transfer to a wire rack to cool completely before slicing. Store in an airtight container.