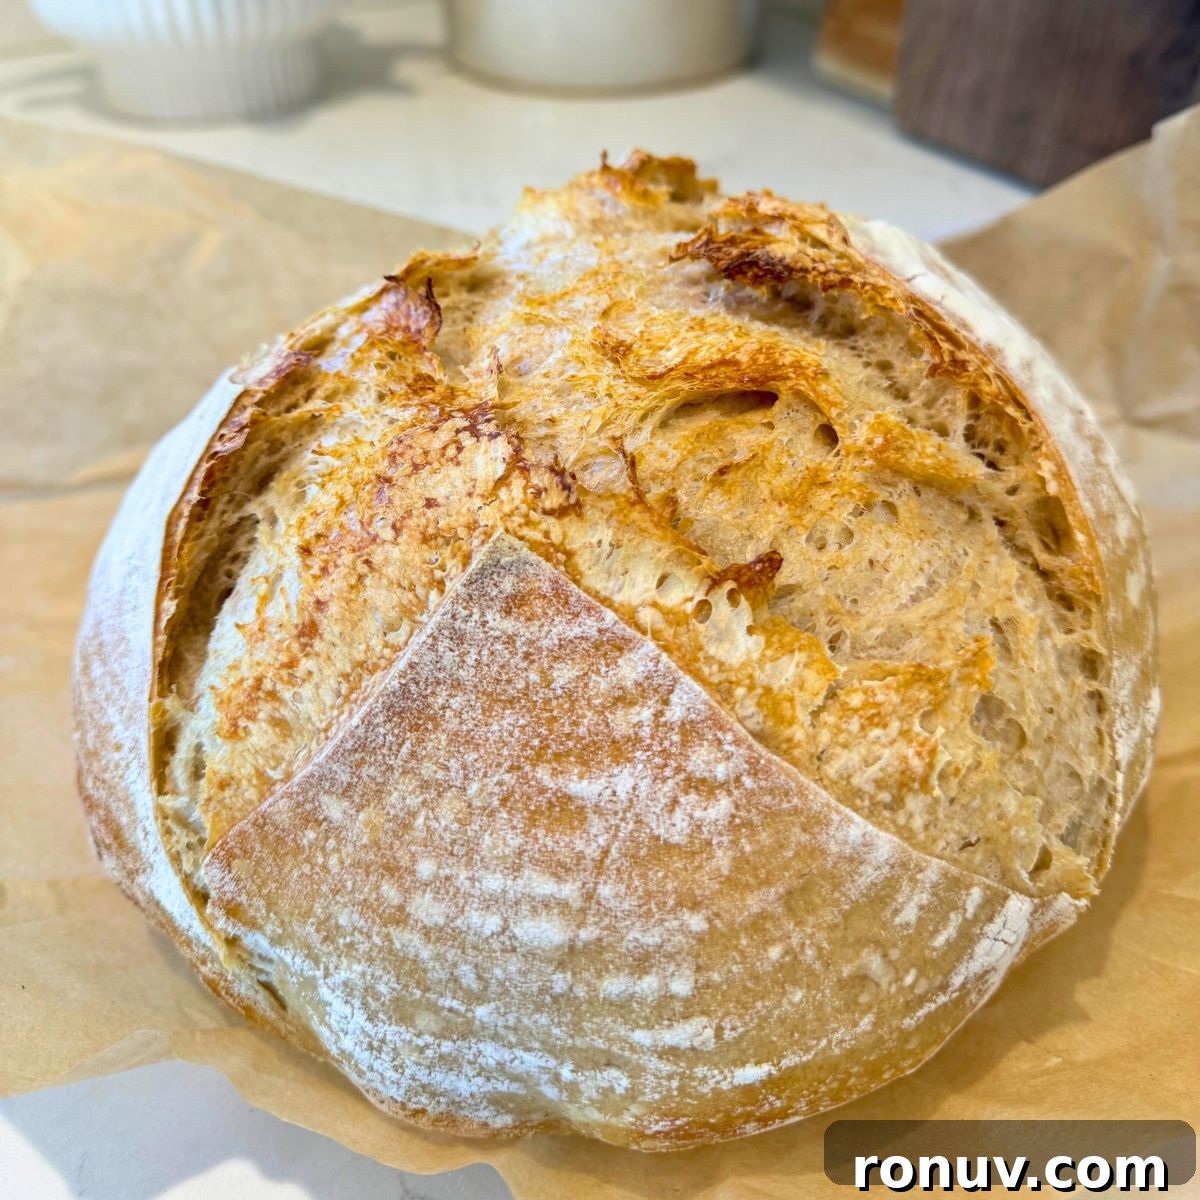
This high-hydration sourdough bread recipe is designed for faster fermentation, a more open crumb, and a tender, chewy loaf. It’s approachable for beginners and can be made using measuring cups—no kitchen scale required.
This high-hydration sourdough has a tangy flavor and a crisp crust I bake regularly. It may seem intimidating at first, but the steps are straightforward. Below you’ll find clear instructions from creating a sourdough starter to baking a beautiful loaf.
If you’re new to sourdough, focus on developing a consistent starter and learning to read your dough; those skills make every loaf better.
Creating Sourdough Starter
The starter is the living leaven that replaces commercial yeast. It’s a simple mix of flour and water that attracts wild yeast and beneficial bacteria. Building a healthy starter takes time—anywhere from a few days to a few weeks—depending on kitchen temperature and feeding routine.
Basic steps to create a starter:
- Mix equal parts flour and water in a clean jar. Use unbleached all-purpose flour and filtered or bottled water for best results.
- Let the mixture sit loosely covered at room temperature for 24 hours.
- Discard half of the jar, then feed by adding equal parts fresh flour and water.
- Repeat the discard-and-feed cycle daily for about 5–12 days until the starter shows consistent bubbles and rises predictably.
- Look for these signs of activity:
- Bubbles: Small bubbles forming and rising to the surface.
- Increase in volume: The starter should roughly double after a feeding.
- Sour aroma: A pleasant, mildly tangy smell develops.
Tip: Discarding half of the starter during feedings keeps quantities manageable and encourages new growth. You can use discard in pancakes or waffles, or compost it.
Float test and readiness: When the starter reliably doubles and passes the float test (a spoonful floats in water), it is ready to leaven bread.
Easy Sourdough Bread Recipe
Once your starter is active, you can use it to make sourdough. For this recipe, prepare 2 full cups of active starter as your levain by feeding your starter with equal parts flour and water and letting it become bubbly at room temperature.
Below are my tested steps and helpful tips to guide you through mixing, fermenting, shaping, and baking a high-hydration sourdough loaf that produces an open, tender crumb.
My tips & tricks
Mix starter and water first: In a large bowl, combine the active starter with the water and let it sit until it becomes bubbly. If your starter was refrigerated, feed it the day before to reactivate it.
Add flour and mix: Add sifted or well-whisked all-purpose flour and mix until the dough is shaggy. Use a dough whisk or your hands—aim for a rough, hydrated mass rather than a smooth, elastic dough at this stage.
Add salt and knead briefly: Add the salt after the initial mix and knead or fold until the dough becomes smoother. For high-hydration doughs, gentle handling is best; knead 5–10 minutes if needed.
Bulk fermentation: Place the dough in a greased bowl, cover, and allow it to ferment at room temperature for about 2–6 hours, depending on temperature. Perform stretch-and-folds every 30–60 minutes during the early part of bulk fermentation to build strength.
How to know it’s ready: The dough should increase in volume, feel airy and bubbly, and hold its shape somewhat when poked gently.
Stretch & Folds
Stretch-and-folds develop gluten in wet sourdough doughs without aggressive kneading. They help trap gas for a better rise and contribute to the classic sourdough texture.
How to do stretch-and-folds:
- Wet your hands slightly to prevent sticking.
- Lift one edge of the dough, stretch it gently upward and fold it toward the center.
- Rotate the bowl a quarter turn and repeat on the next side.
- Complete 4 sides so you’ve stretched and folded all around the dough.
- Rest and repeat the process every 30–60 minutes during bulk fermentation for a total of 3–4 sets.
Shaping: After the final set of folds, shape the dough into a tight round. To build surface tension, gently push and pull the dough across a lightly floured surface until the exterior is smooth and taut.
Final rise (proof): Transfer the shaped dough seam-side up or down into a well-floured banneton or bowl lined with a floured towel. Cover and refrigerate for at least 4 hours or overnight (8–12 hours) for a slow, flavorful proof.
Preheat: When ready to bake, preheat your oven to 450°F (230°C) with a Dutch oven or baking vessel inside.
Scoring and baking: Turn the chilled dough onto a piece of parchment, dust with flour, score the top with a sharp blade, and place the dough (on the parchment) into the hot Dutch oven. Bake covered for about 25–30 minutes to create steam, then remove the lid and bake another 20–30 minutes until deeply golden and crusty.
Be patient: Sourdough baking rewards patience and practice. Your starter and first loaves will improve over time.
Temperature matters: A warm environment (around 70°F) speeds fermentation. If your kitchen is cool, find a slightly warmer spot or use gentle proofing methods.
Less is more: Avoid overworking the dough. Sourdough benefits from gentle handling; over-kneading can produce a tight, tough crumb.
Measuring: A kitchen scale gives the most consistent results, but measuring cups work fine for beginners—just avoid packing the flour into the cup.
Learn to “read” your dough
Pay attention to how the dough looks and feels rather than relying solely on clocks. Look for bubbles, volume increase, elasticity, and how the dough responds to a gentle poke. These signs indicate when your starter is ready, when bulk fermentation is complete, and when the loaf is proofed and ready to bake.
Experiment: Once comfortable with the basics, try different flours, hydration levels, and proofing times to personalize your sourdough.
Troubleshooting Common Problems
Every baker encounters bumps along the way. Here are common issues and practical solutions to keep your sourdough on track.
Starter isn’t bubbly:
Possible causes: Too cold, inconsistent feedings, or using a low-protein or bleached flour.
Fixes: Move the starter to a warmer spot (around 70°F), feed regularly (once or twice daily), and use unbleached all-purpose or bread flour.
Dough too sticky to handle:
Possible causes: High hydration or under-developed gluten.
Fixes: Use a bench scraper and wet hands, add a tablespoon of flour at a time if needed, and perform more stretch-and-folds rather than heavy kneading.
Dough not rising during bulk fermentation:
Possible causes: Cold environment, weak starter, or insufficient time.
Fixes: Use an active starter, keep the dough warm, and allow extra time for fermentation when temperatures are low.
Less Common Issues
- Dense, gummy crumb:
- Cause: Under-fermentation or insufficient oven spring.
- Fix: Allow longer bulk fermentation and proper proofing. Ensure steam during early baking and bake until the crumb sets.
- Burnt bottom:
- Cause: Oven running hot or direct heat concentration.
- Fix: Lower the oven temperature slightly, use a Dutch oven for initial baking, or place a baking stone to distribute heat evenly.
- Uneven browning:
- Cause: Uneven oven heating or lack of steam.
- Fix: Rotate the loaf during baking for even color, shape a tight boule, and introduce steam in the first part of baking (Dutch oven, tray of ice, or a quick spray of water).
Recipe Card
If you try this recipe, share your results and feedback in the comments. Enjoy baking your homemade sourdough!
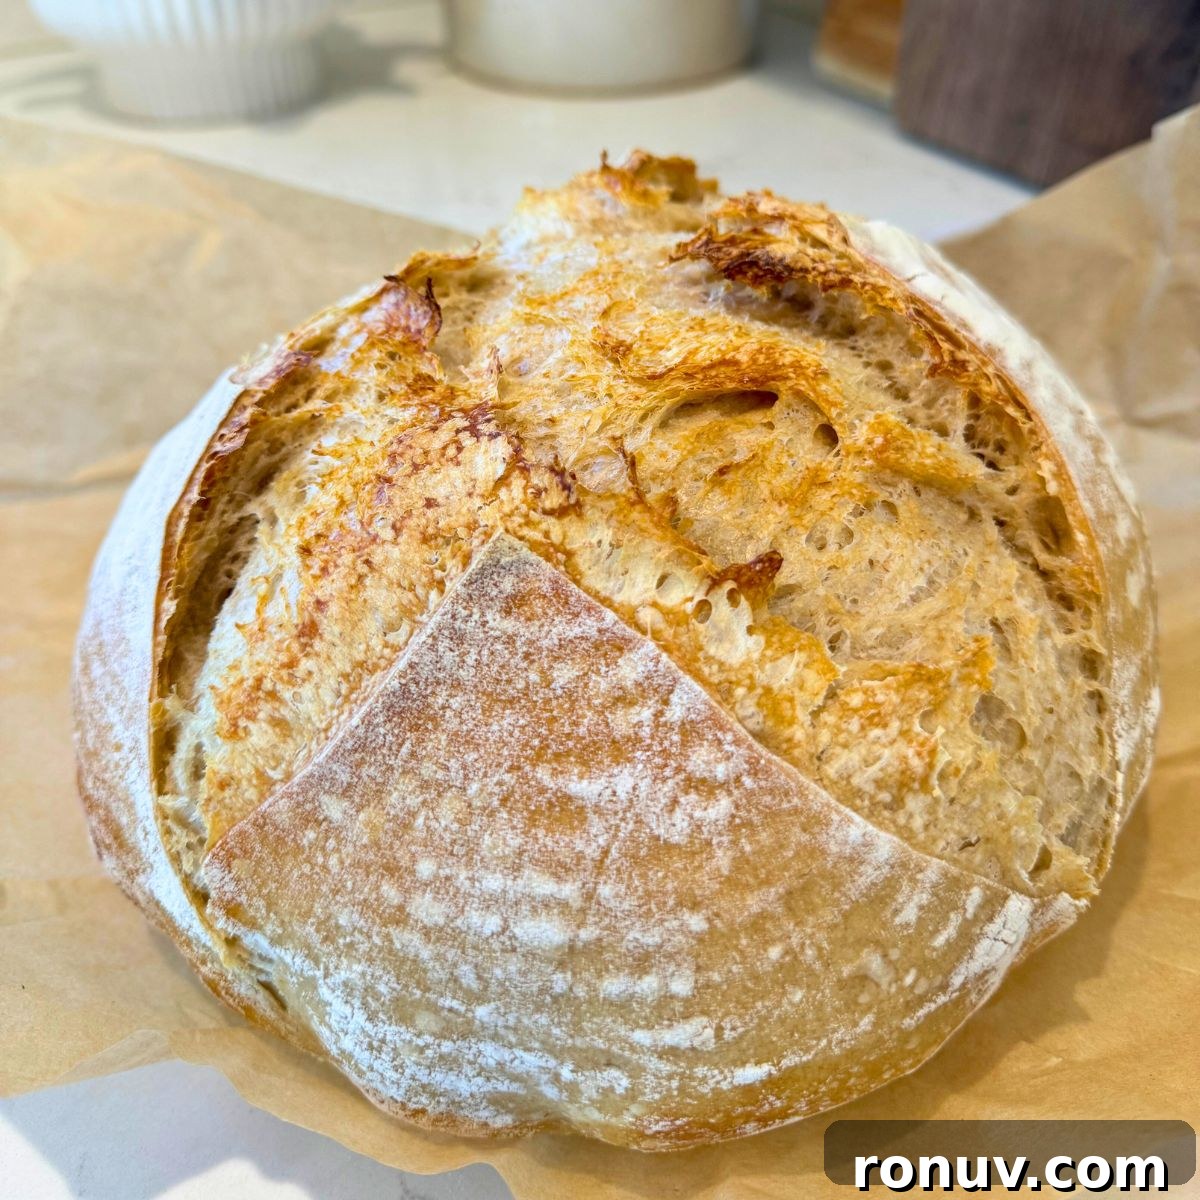
High Hydration Sourdough Bread Recipe – Step by Step
Ingredients
- 2 cups 100% hydration sourdough starter made from equal parts flour and water (or about 552 g)
- 3 cups sifted all-purpose flour or ≈360 g
- 1 cup warm water or ≈240 g
- 1.5 teaspoons salt ≈8.5 g
Instructions
Gather your ingredients
- 2 cups active starter: Make sure your starter is bubbly and active. Feed it and let it sit at room temperature for several hours before using.
- 3 cups sifted flour: Sifting or whisking the flour aerates it for a lighter loaf.
- 1 cup warm water: Aim for lukewarm water so it encourages fermentation without harming the starter.
- 1.5 teaspoons salt: Use your preferred salt.
Mixing and resting
- Combine: In a large bowl, mix the starter, sifted flour, and warm water until a wet, sticky, shaggy dough forms.
- Rest: Cover loosely and let the dough rest for about 2 hours so the flour hydrates and gluten begins to develop.
Stretch and fold for strength
- First set: Wet your hands, stretch one side of the dough up and fold to the center. Repeat on all four sides.
- Repeat: Cover and allow the dough to rise until it has increased in volume. Repeat stretch-and-folds every 30–60 minutes for a total of 3–4 sets during bulk fermentation (about 4–6 hours total).
Shaping and cold proofing
- Shape: Turn the dough onto a lightly floured surface and shape into a tight round, creating surface tension.
- Proofing basket: Place the dough seam-side down in a floured banneton or bowl lined with a floured towel.
- Final rise: Cover and refrigerate overnight (8–12 hours) for a slow, flavorful proof.
Baking
- Preheat: Preheat oven to 400–450°F (200–230°C) with a Dutch oven inside for at least 30 minutes.
- Score: Turn the chilled dough onto parchment, dust with flour, and score the surface with a sharp blade.
- Bake covered: Place the dough (on parchment) into the hot Dutch oven and bake covered for about 25 minutes to trap steam.
- Bake uncovered: Remove the lid and bake another 20–30 minutes until the crust is deep golden.
- Cool: Let the loaf cool completely on a wire rack before slicing to allow the crumb to set.
Notes
- If you don’t have a Dutch oven, bake on a parchment-lined baking sheet; the crust may be less crisp.
- Adjust baking time and temperature according to your oven for desired browning.
- Allow the loaf to cool fully before slicing for the best texture.